This blog contains the information about setting up the infrastructure for SharePoint Non-HA Farm on Azure IaaS Virtual Machines (VM).
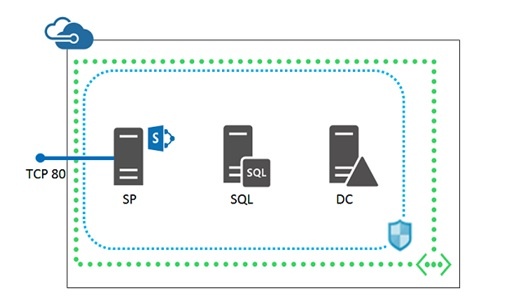
SharePoint Non-HA Farm architecture
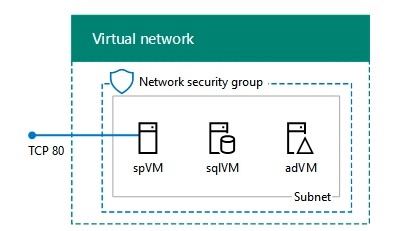
Image Ref: - technet.microsoft.com.
This article contains the steps which will work perfectly with Azure Resource Group Deployment Model.
First of all for setting up the Infrastructure as per the above mentioned diagram, you need to have an active Azure subscription after that you need to create 3 Azure IaaS VMs.
1st plain Windows server 2012 R2 VM for Active Directory Domain service,
2nd Windows server 2012 R2 with SQL server VM for SQL server and
3rd Windows server 2012 R2 with SharePoint 2013/2016 for SharePoint server.
Note: -In Azure portal, while creating SQL server VM with built in Windows authentication also provides another SQL server authentication details.
These all three servers need to be in single Virtual Network in Azure. You can assign them static private IP as well as public IP.
To assign static private IP after creating VM, please follow following steps:
- Navigate to Virtual Machine and select Network Interface, On Network Interface go to settings and select IP Configuration.
- Then select attached IP address and from here you can make that IP address as static.
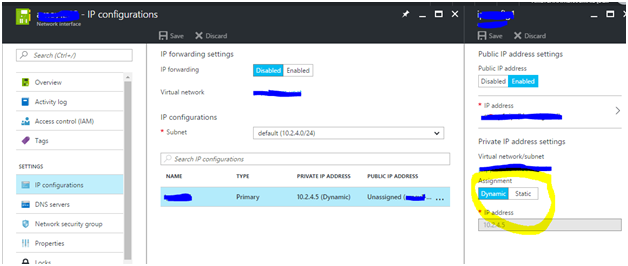
Making IP address of all VM as static is good practice when you configure Active Directory Domain Service in Azure otherwise AD DS(Active Directory Domain Services) configuration will give you warning while adding AD DS role to server.
Public IP Address
- For SharePoint server, public IP address is mandatory because you can access the SharePoint site over internet.
- For SQL server VM and AD DS VM it’s not mandatory because you can connect those servers from SharePoint server and configure.
After provisioning above requirements, now we will go through SharePoint configuration steps:
- RDP to 1st VM for configuring AD DS and go to server manager add roles.
- Add Active Directory and DNS server roles.
- After installing Active Directory and DNS server, go to server manager and promote the server as Domain Controller.
- After configuring Active Directory Domain Services, log in to other 2 VMs and add them to configured domain.
While adding other 2 VMs into domain please follow the following steps:
- First RDP to SharePoint and SQL server VM.
- Go to Open network and sharing center and from there select Ethernet and click on IP V4 properties.
- In IP V4 properties, give the preferred DNS server address which is nothing but the 1st VM private address on which we configured the AD DS.
- After this restart the SQL server and SharePoint server.
- After restart go to the PC/Computer and select properties.
- Select computer name, domain and workgroup setting and click change setting.
- Select on change domain setting. And then select domain and enter domain name.
- It will ask for Domain Controller Administrators credentials and then It will add that VM to defined domain.
- After this it will disconnect automatically then connect to it again and this time login with domain account.
- Create two domain users, one for SQL server VM and another for SharePoint VM then add them to respective VM administrator group.
- Log in to SQL server with SQL server credentials given while creating SQL server in Azure portal and then add user for domain account.
- After adding domain account user in SQL server, try to log in with it.
- Now navigate to the third SharePoint server VM and log on with domain user to install and configure SharePoint server.
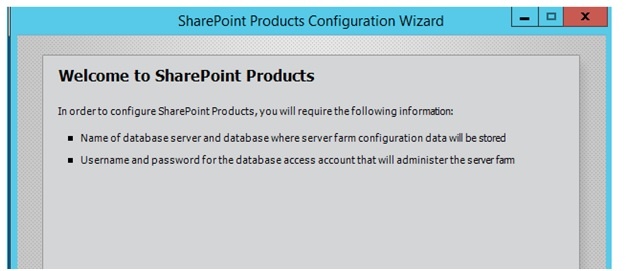
- Search for SharePoint Product Configuration Wizard and start the installation.
- Select create a new server farm
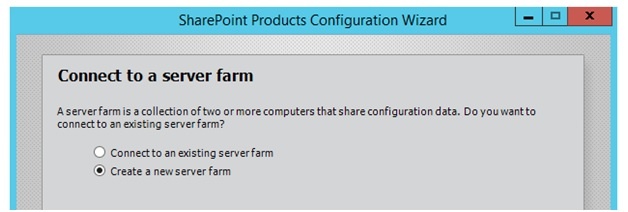
- Provide the required SQL server name and domain user credential to access SQL server.
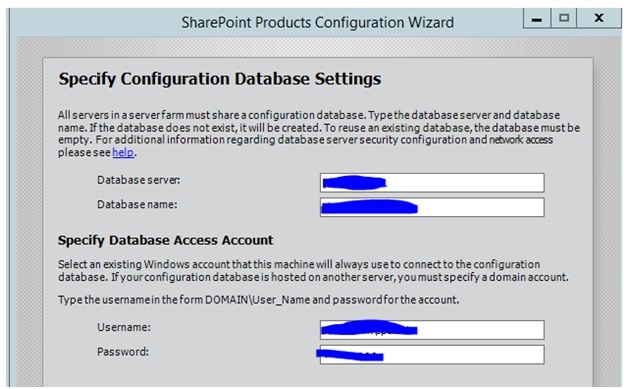
- Next provide the passphrase and save the passphrase in secure place.
- After this it will ask for port number to run SharePoint server, you can give any user defined port number otherwise it will take it by default. Also choose NTLM as authentication provider.
- Complete the SharePoint product configuration wizard by providing the required inputs.
- After successful installation of SharePoint server, it will show you the configuration page.
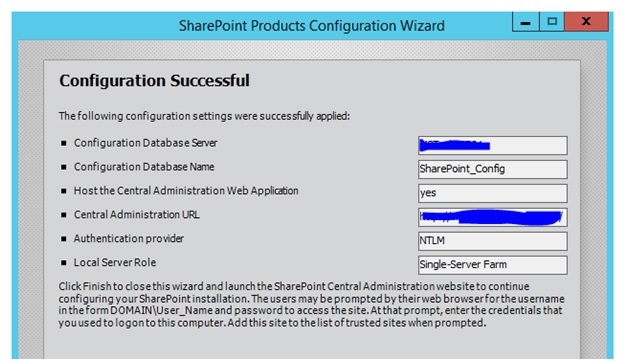
- After this it will open a welcome page in default page, from there select start the wizard to configure SharePoint. After success completion of configuration wizard you are ready with SharePoint server Non-HA Farm on Azure.
Note: - After successful configuration of SharePoint server in Azure, you need to do following three things to access it from internet.
- Open SharePoint server Central Administration and select Application Management.
- Then select Configure Alternate Access Mapping and edit Public URL and provide your Public IP address of server so you can configure domain name also.
- After this go to Azure portal and navigate to SharePoint VM >Network Interface>Network Security Group>Inbound Rule>Add then add inbound rule for 80 port for HTTP and 443 for HTTPS.