Migration of blog does not require any coding knowledge. HubSpot has made it so simple that even a naive can easily understand and migrate to HubSpot.
Here are the simple blog migration steps:
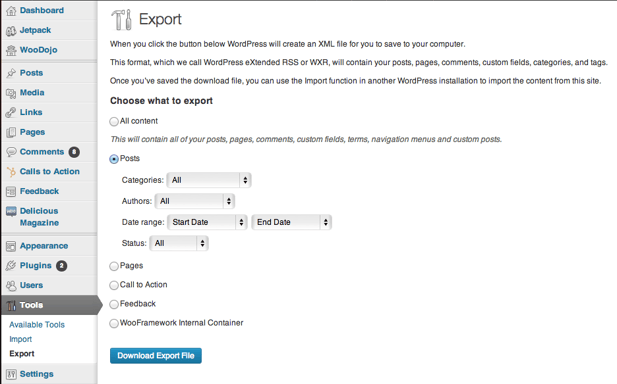
- First sign in to your WordPress blog and export your blog posts.
- From your WordPress Admin select Tools > Choose what to export.
- In Choose what to export select Posts
- Then select all for Categories, Authors, Status.
- Click on the Download Export File.
All the information related to blogs like comments will be added automatically in the export file. Hence, no specific attention is required.
- Once you are done with exporting your WordPress file, go to the HubSpot account and login with own account.
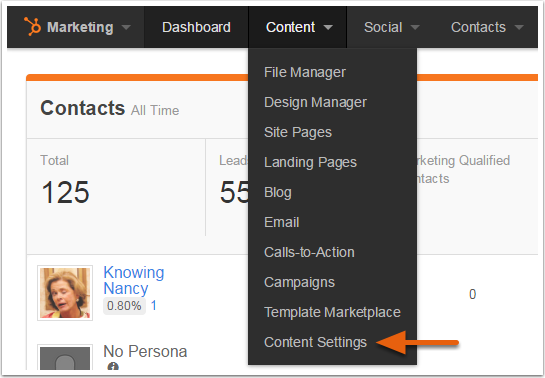
- In the top menu navigate to Content Section > Content Settings
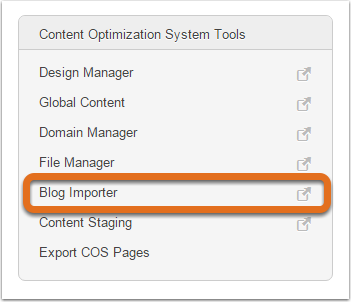
- On the left, click on Blog Importer under the Content Optimization System Tools.
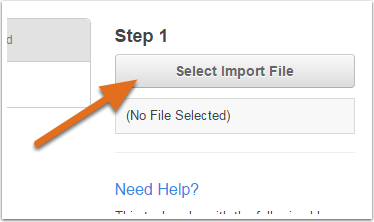
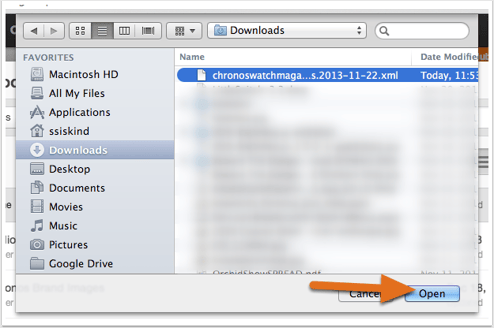
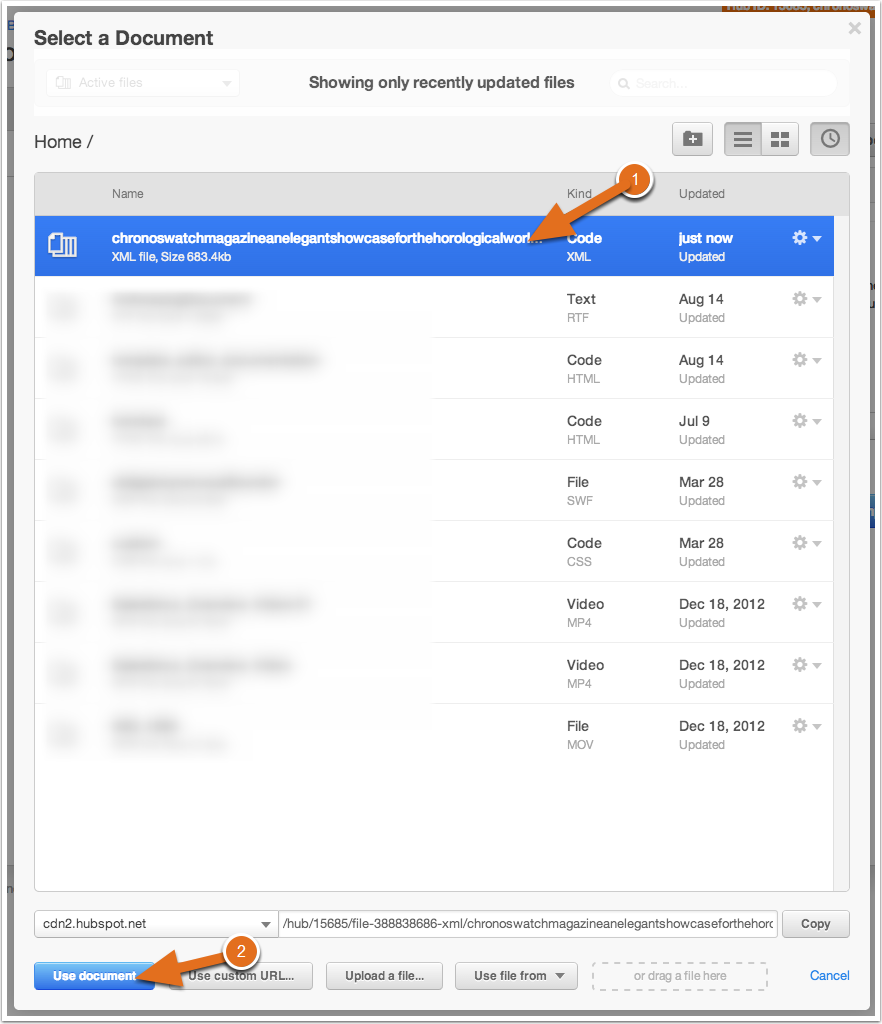
- Click Select Import File and upload the export file of WordPress from your computer. Once uploaded, the file will be visible in the recently uploaded files folder.
- Select the file and click on Use Document.

- A new drop-down appears. Select the blog where you want to import the blog posts.
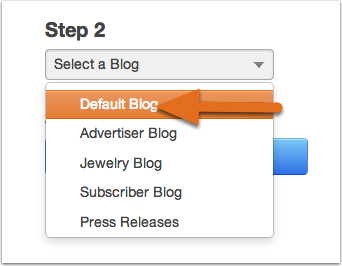
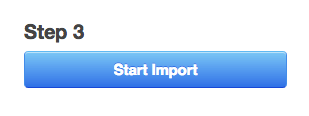
- Click on Start Import, the page redirects to a screen which shows the import process of the blog.
- Wait until the import is completed. Remember all the imported blog posts will have an unpublished status.
- Go to Blog Import Manager and you will see the status of the blog you just imported with a link Import Post, click on the link.
- To check the status of your blog go to Blog import manager. There you'll able to see the status of your blog. If the status of your blog is set to ready, click on Import Posts to choose the blogs you want to publish.


- Now you can see the Import Post Dashboard, where the status of all the posts is unpublished.
- You can tick the checkbox next to each post to select the post you wish to publish.
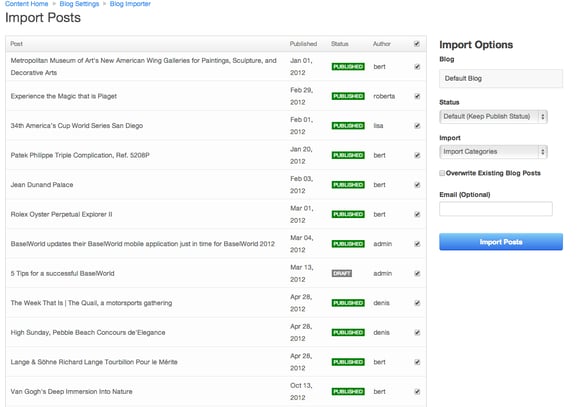
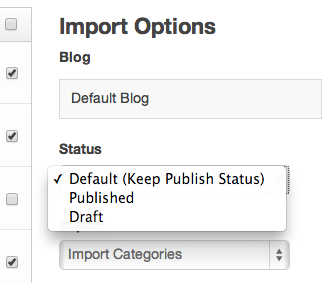
- Select the status as publish for all the imported posts.
- The default option is selected which indicates that draft posts are in draft mode and published ones are as published. You can either publish all the posts by selecting published or draft by selecting draft.
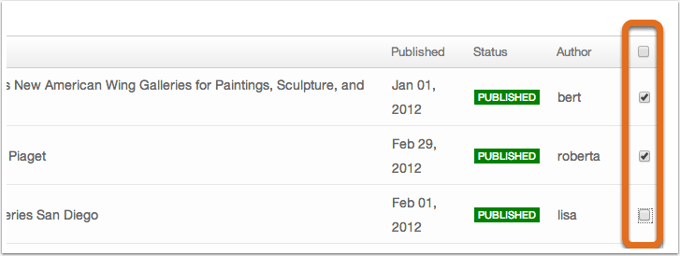
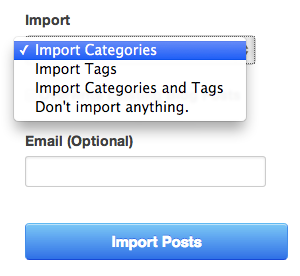
- Now from the Import drop down menu select whether you want to import the tags and categories of your blog to HubSpot COS or not.
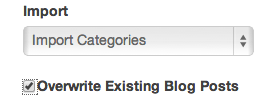
- Check the option Overwrite Existing Blog Posts if you want to overwrite previously imported posts with the recent one.
- Enter your email address to get notified after the import is completed.
- Once the import is finished, you can check the Import Status page where you can look for the errors and warnings encountered while importing.
- The page will have a section called HubSpot URL Mappings which will provide you with the list old URL from your imported blog along with new URL. If there is a difference in URL you can download the redirection file and upload it on the URL mapping section.

Note: Image credit to HubSpot
Once redirection is completed, you can check the content settings for missing fields like whether you have added analytics code, inserted logo etc.
Here we complete the migration process.
If I have missed any points which you think are important in migrating the WordPress to HubSpot. Kindly mention them in the comment section. I will be more than happy to include them.

