There are several commonly used DevOps tools and Kubernetes is one of them. Kubernetes is a portable, extensible open-source platform for managing containerized workloads and services. It facilitates both declarative configuration and automation. Kubernetes services come with support and tools that are widely available. Kubernetes have many features like automated scheduling, automated rollouts and rollback, self-healing capabilities and horizontal scaling and load balancing.
All these features make it a unique and helpful tool. It is one of the most sought-after services and there are many cloud providers who provide Kubernetes service like IBM, Amazon, Google and Azure etc.
Now, let's discuss how to deploy Azure Kubernetes Service (AKS). It is simple to deploy a managed Kubernetes cluster in Azure.
Below are some of the key features:
- AKS reduces the complexity and operational overhead of managing Kubernetes
- Azure handles critical tasks like health monitoring and maintenance
The Kubernetes masters are managed by Azure. We only need to manage and maintain the agent nodes. As a managed Kubernetes service, AKS is free – one only need to pay for the agent nodes within clusters and not for the masters.
For security purpose, AKS supports role-based access control to limit the access to cluster resources. This can be done through Azure Active Directory. To get logs and to check the performance, Azure monitor for container comes into play. It checks container health, collects memory and processor metrics from containers, nodes, and controllers. We can also get logs by reviewing the Kubernetes master logs. It helps us to find out problems and to solve it.
AKS nodes run on Azure Virtual Machines. As required, the number of cluster nodes or pods can automatically scale up or down on demand. The horizontal pod autoscaler or the cluster autoscaler are also possible.
We can mount storage volumes for persistent data to support application workload. For this, both static and dynamic volumes can be used. Depends on how many connected pods can share the storage, we can use storage backed by either Azure Disks for single pod access, or Azure Files for multiple concurrent pod access.
Kubernetes have a rich ecosystem of development and management tools. It can be integrated with different tools as required like Visual Studio Code, Jenkins, Docker, Rundeck, Git, Git Hub and many more as required.
AKS support docker image and private container registry like Azure container registry.
We can integrate it through Azure Container Registry (ACR). It is CNCF certified and is compliant with SOC, ISO, PCI DSS, and HIPAA.
We can create an AKS cluster with Azure portal, Azure CLI or template driven as per our requirement.
If you are planning to use CLI deployment process, the following are the steps:
- Create a Resource Group:
Command az group create --name surbhirg --location UK South
- Create AKS Cluster
Command az aks create \
- resource-group surbhirg \
- name testcluster\
- node-count 1 \
- enable-addons monitoring \
- generate-ssh-keys - We will get a cluster named testcluster in our resource group named surbhirg.
- To get connected to the cluster first we need to install kubectl by using
Command az aks install-cli - To configure kubectl to connect to the our new cluster “testcluster ” we need to use following command this command downloads credentials and configures the Kubernetes CLI to use them.
Command az aks get-credentials --resource-group surbhirg --name testcluster
Now let’s look at how to run the application on Kubernetes:
To run docker based images on Kubernetes, we can follow the following steps:
- We need to install docker on a Linux VM through which we can make the image and push that to ACR. We are going to install Magento on a ubuntu image-based container and convert this container to image.
- Now deploy Azure Container Registry in the resource group named “surbhitest” name can be any.
- Now we need to push this Magento image to ACR.
- After that, get connected to the Kubernetes cluster by Azure CLI.
- Create a file name test.yaml and copy the following YAML definition.
Command:
vi test.yaml
Yaml File:
piVersion: v1
kind: Service
metadata:
labels:
app: magento
name: magento
spec:
type: LoadBalancer
ports:
- port: 80
selector:
app: magento
tier: frontend
---
apiVersion: apps/v1
kind: Deployment
metadata:
name: magento
labels:
app: magento
spec:
replicas: 2
selector:
matchLabels:
app: magento
tier: frontend
strategy:
type: Recreate
template:
metadata:
labels:
app: magento
tier: frontend
spec:
containers:
- image: surbhitest.azurecr.io/magento:latest
name: magento
ports:
- containerPort: 80
name: magento
imagePullSecrets:
- name: acr-auth
Command: kubectl apply –f test.yaml
Output:

2. To check the number of pods:
Command: kubectl get pods
Output:

3. To test the application use
Command: kubectl get svc
Output:

4. Now when we browse the external IP, we get the following output:
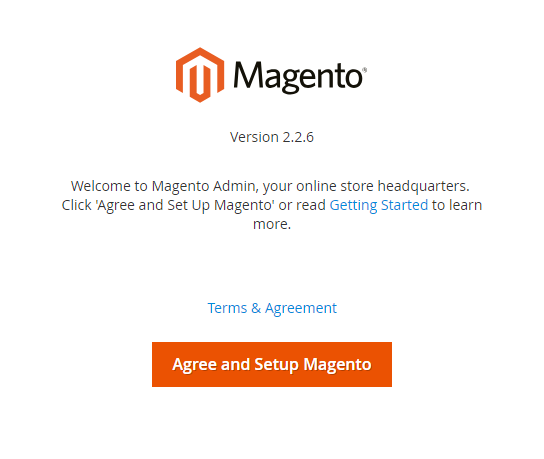 This is how you can successfully deploy Azure Kubernetes Service and make your work simple.

.jpg)


