The use of 9 patch images for Android development is to help keep the app lower in the size. We can use 9 patch images for the buttons & backgrounds.
9patch image works like the scalable Graphic in the android & we can define the scalable area of the image. It has a slightly different approach in creating the 9patch images.

Scalable Area: Scalable area defines the area which is going to be scaled as per the content. The black patch to the Left & Top side of the image defines vertical & horizontal scaling area respectively.
Fill Area: It defines the drawable area where content is going to be filled in. The black patch of the Right & Bottom side of the image defines vertical & horizontal fill area respectively.
Kindly note that, to recognize 9patch image in Android, you must use image extension such as the following,
imageName.9.png
(The number 9 helps to identify the 9 patch image)
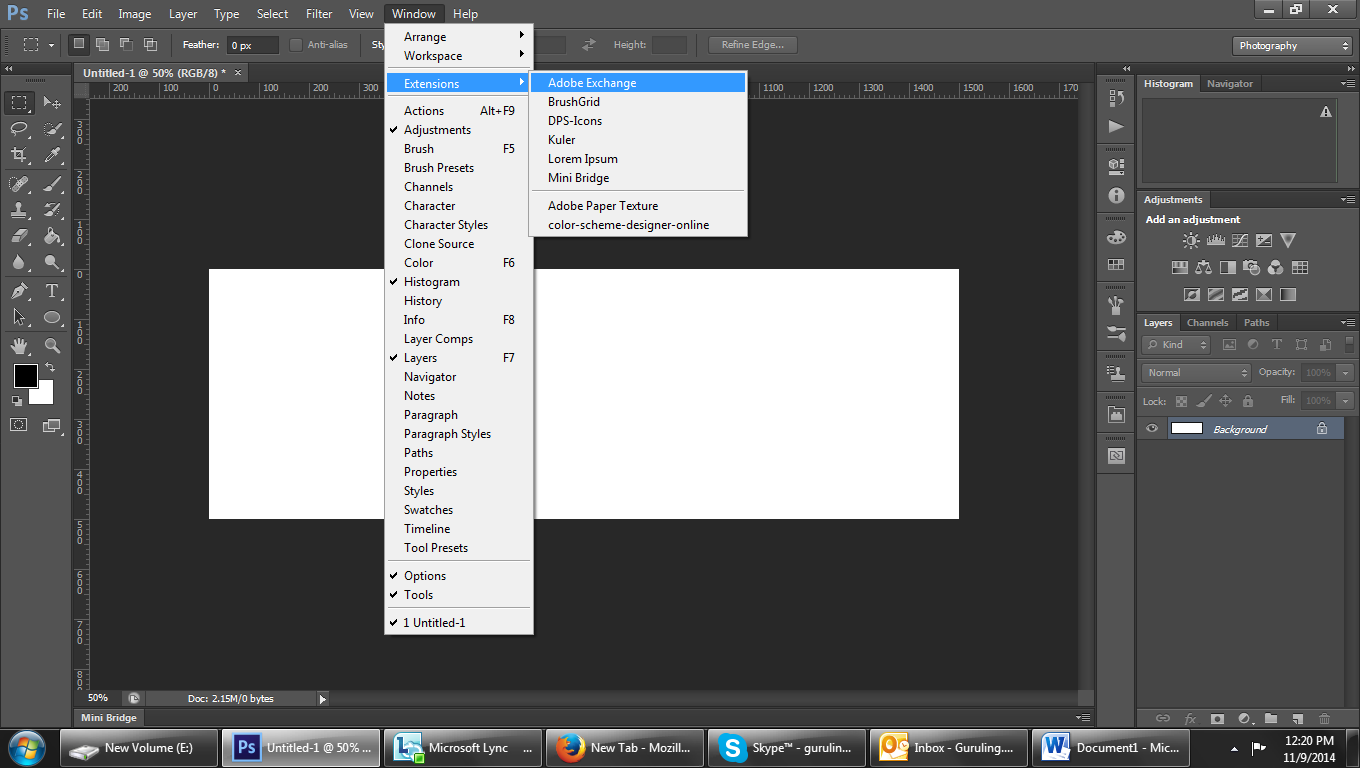
Creating 9 patch background image using Photoshop:
- Take the document size considering the minimum size of the image that is required. For this example we are taking document size 24px X 24px.
Draw the images in a regular way as you use to do in Photoshop.

- Make the 1px spacing around the image from all sides. And also make sure that the image doesn’t have anything in this 1px area & has 100% transparency. Otherwise 9patch image will not work.

- Now we are going to define the Vertical Scalable Area of the image.
Select the Rectangular marquee Tool & draw the 1px wide & required scalable height selection to the Left of the image. Add the new layer & fill the black color to the selection.

- Repeat the process for the Right side of the image. The right side 1px black line defines the vertical Fill Area of the 9patch image.

- Make the 1px black line patch to the top of the image to define the Horizontal Scalable Area & also at the bottom for the Horizontal Fill Area.

- We want the image corners to remain unchanged while scaling the image in the App. So we are not placing the corners in the Fill Area as well as in the Scale Area.

Image Courtesy- Abhijit Kurane
- Save the image in the .png format & rename the file name extension to the imageName.9.png format
You can find more information about how nine patch images work from the links below,
http://developer.android.com/guide/topics/graphics/2d-graphics.html#nine-patch
http://radleymarx.com/blog/simple-guide-to-9-patch/
Also you can try some online tools such as the- http://draw9patch.com/