

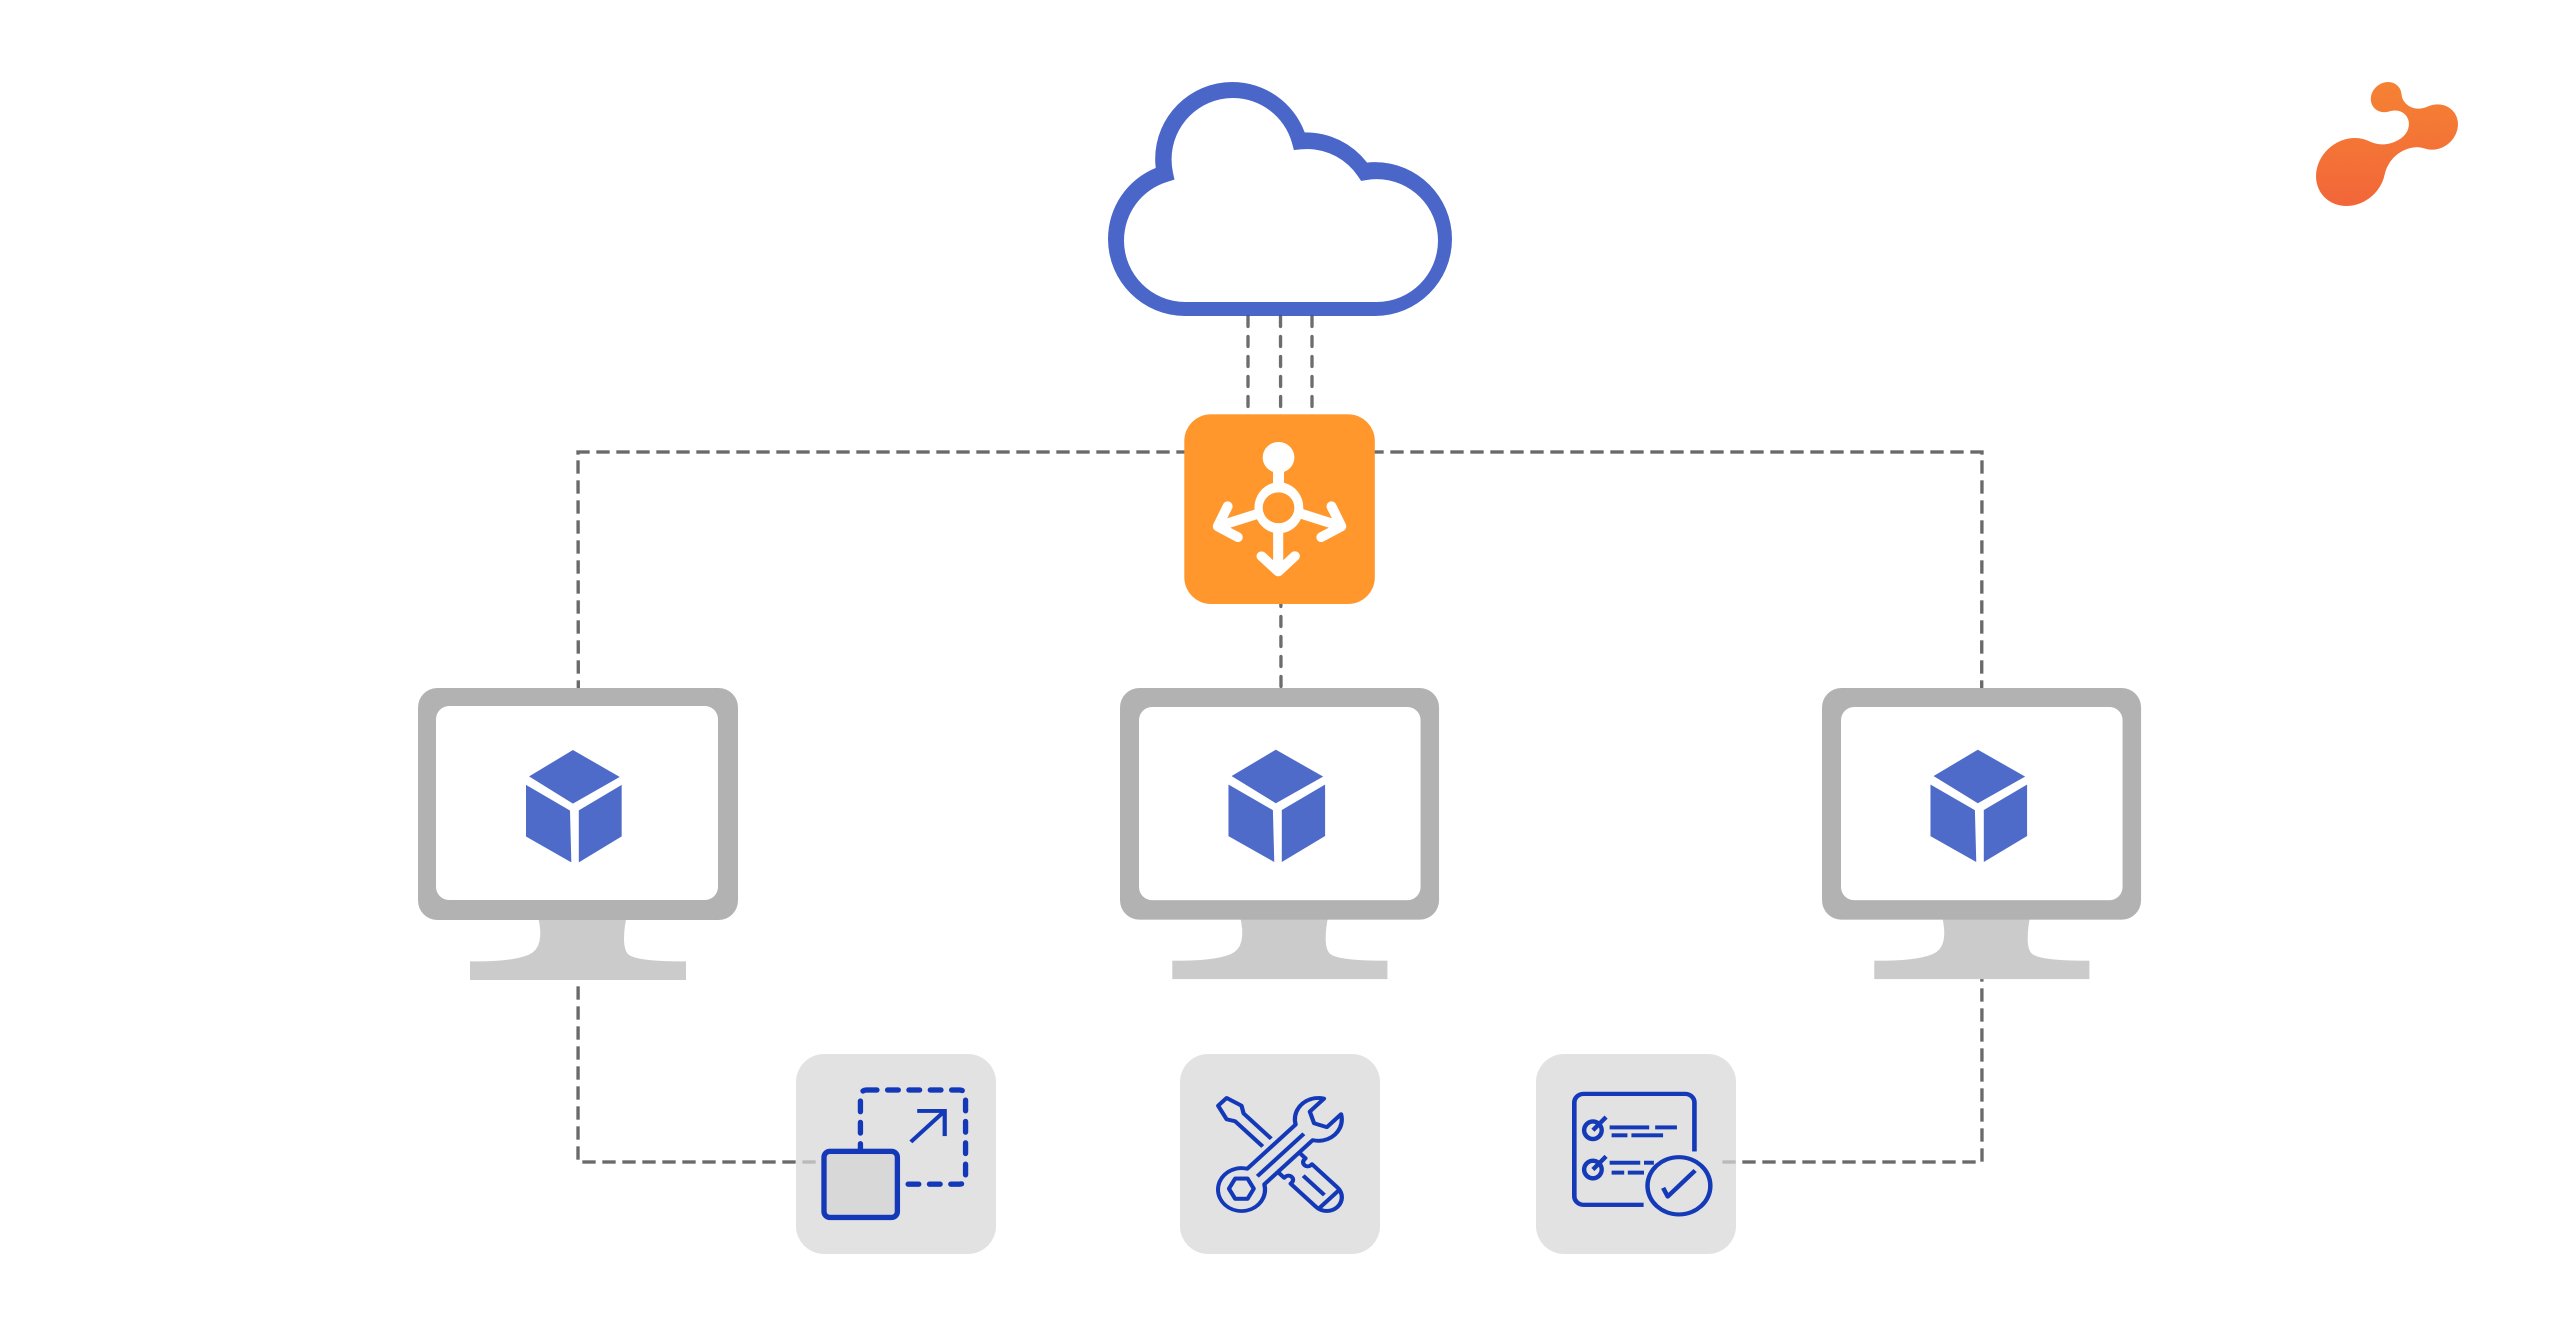
An Azure Front Door Service provides the management and monitoring of web traffic in an optimized way to extract the best performance and protects against instant global fail over for high availability. The main purpose of Implementing Azure Front Door is to transform your application into robust, high performing and reaching globally.
Front Door uses any cast protocol with split TCP with the help of Microsoft's global network in a manner to improve global connectivity and ensure that Front Door routing is done to reach in a fastest available way and in low latency backend first.Front Door platform itself is protected by Azure DDoS Protection on the Basic level. Front Door allows custom Web Application Firewall (WAF) that protects your load from exploitation from malicious requests traffic. Availability of back end is constantly checked with the help of smart health probes which pings the backend nodes to monitor whether it is healthy or not .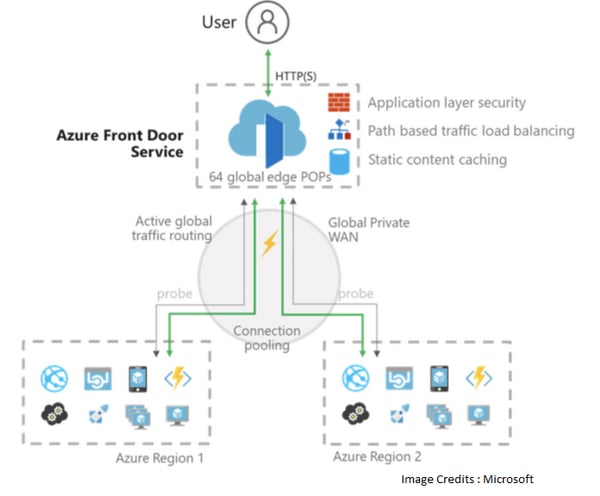 Prerequisite:
In this case, we are going for two WebApp from two different regions:
1. WebApp 1 (East US)
2. WebApp 2 (Central India)
Steps to create WebApp :
1. Go to Azure portal->select Create a resource>Web>Web App>Create
2. Fill out the values
| Setting | Value |
| Name | Enter a unique name for your web app |
| Resource group | Select New, Enter name "MyResourceGroup" |
| App Service plan/Location | Select New. In the App Service plan, enter "MyPlan", and then select OK. |
| Location | Central India (Any Location you need to deploy your WebApp to) |
3. Click Create, Your Web App is deployed
Repeat the same process for another WebApp (different region) or two considering your WebApps are deployed & ready
Here are the detailed steps:
Step 1 :
Create Front Door
Select Create a resource>Front Door>Create.
Step 2 :
Fill Basic Information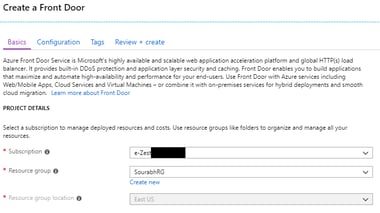 Select Configuration
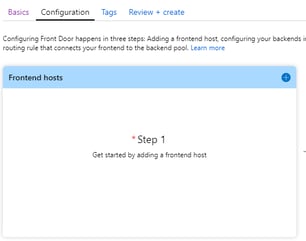
Click on ' + ' to add Frontend Host,
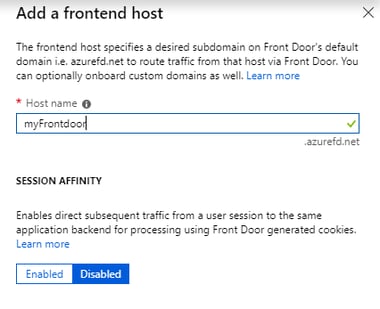 Click on Add to finish adding frontend host and to complete configuration step 1.
Now we go for configuration step 2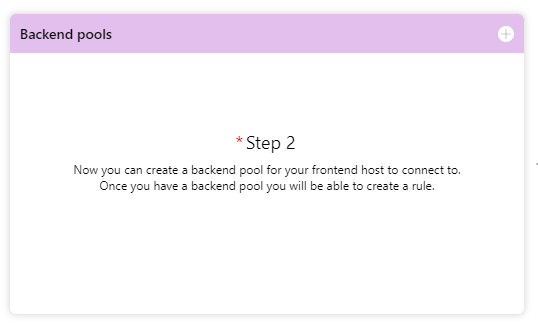
Set name of backend pool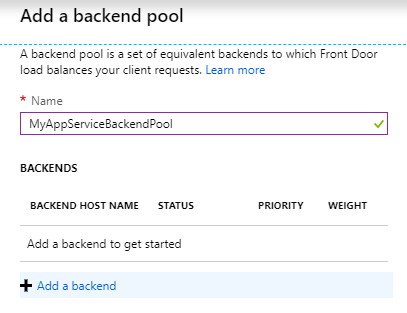
Select backend host type as "App Service" as we have created WebApp for this demo.
Here Priority and Weight are 1 and 50 by default, we can change the Priority and Weight of backend as per our requirement.
For e.g. If you want this particular backend to be used as primary, then you can set Priority to 1 as shown below in image,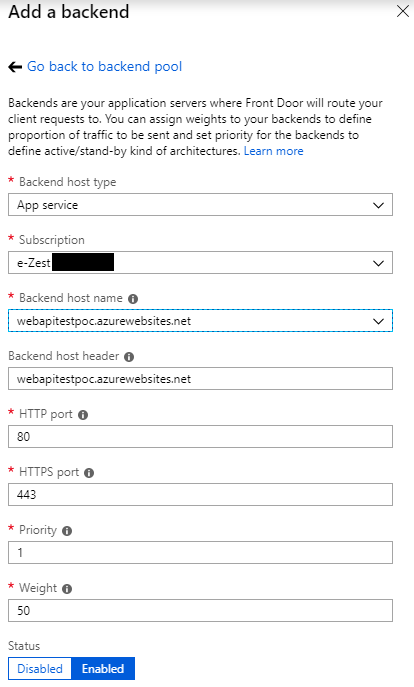
Now Add Health Probe settings as below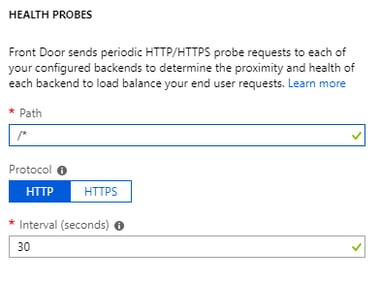 Health probes are used to check the health of the particular backend you are creating to make sure the availability of application.
After this we need add Load Balancing setting.
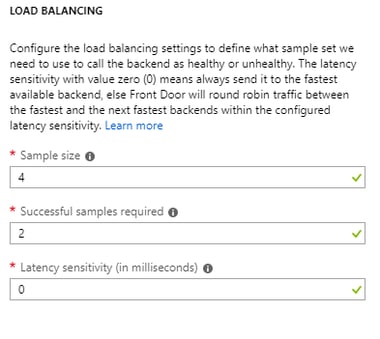 As mentioned in the above image – request will always go to fastest available backend first if Latency Sensitivity kept to 0.
After adding Backend Pool. we need to create Route Rules,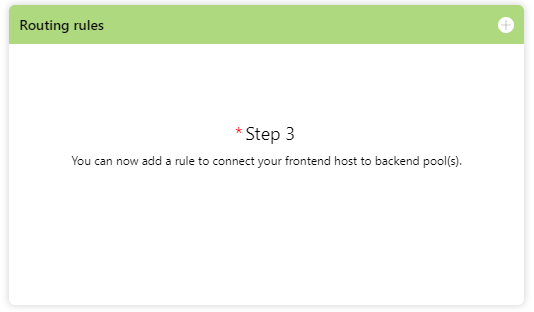
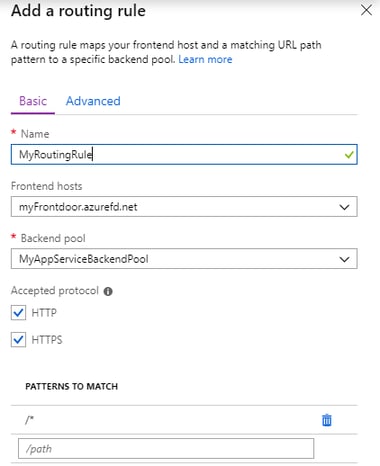 Basic Routing Rules states where Frontend host should be routed to and which Backend Pool keep everything checked as it is
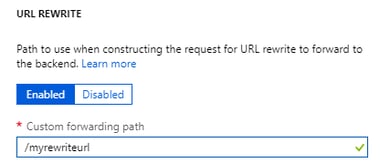
After adding basic info click on "Advanced" tab
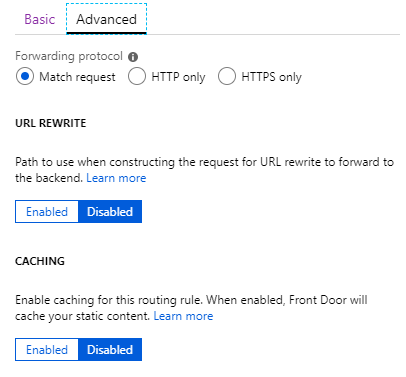
 If you need to enable Caching, click on 'Enabled' and select 'Query String Caching'
as per our requirement.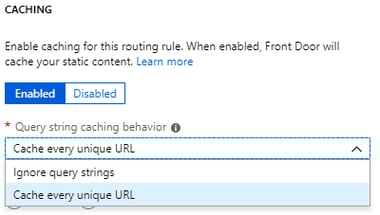 After adding all the information Validate and click on 'Review + Create'.
After passing the Validation, click on Create.
Associating a Web Application Firewall to Front Door Service
Step 1:
All Services > Web Application Firewall > Create
Fill the details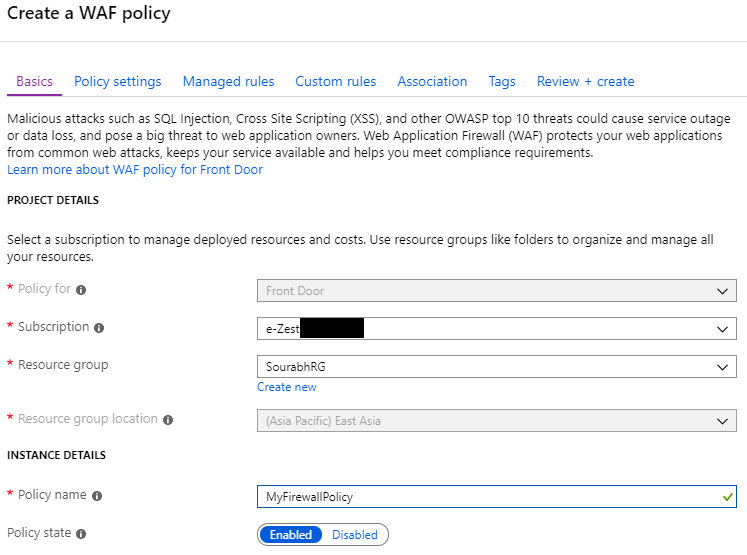
Select Policy Settings
There are two modes Prevention and Detection
Prevention
This mode of firewall is recommended as it blocks all the malicious requests directly and throws 403-Forbidden error message in response to that request.
Detection
This mode does not block any requests but logs all malicious requests to log analytics and can be seen using log search query. This mode can be used while developing the web application to find if a genuine/valid request is getting blocked due to coding (OWASP) incompatibility and later resolve it.
Step 3:
Select Managed Rules
Select DefaultRuleSet_1.0 & BotProtection_preview-0.1 for malicious attacks and bot protection.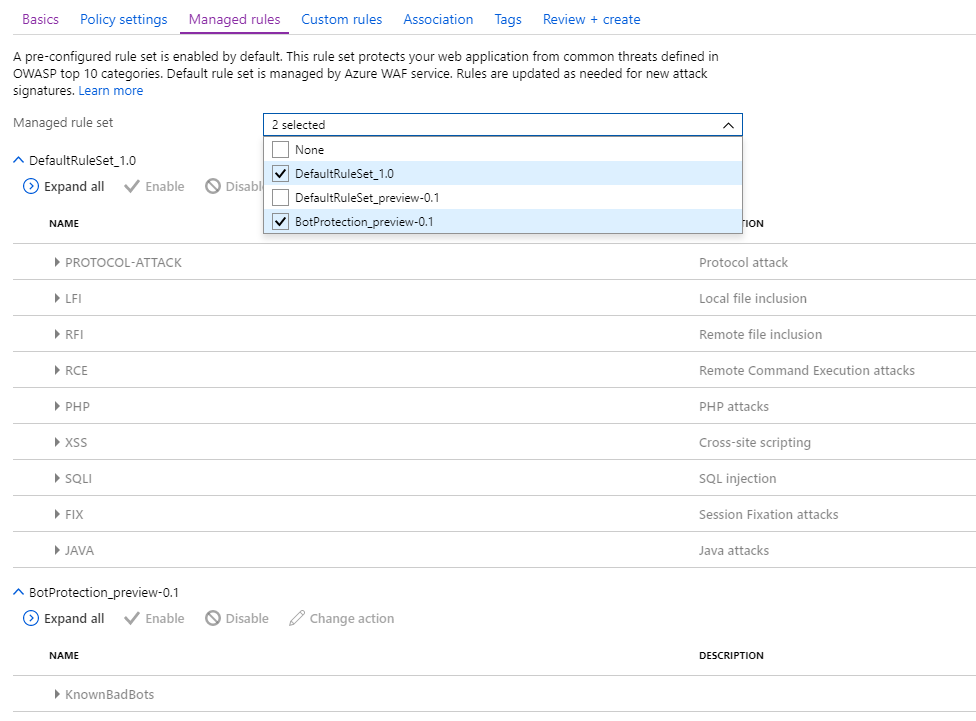
Select Association>Add frontend host
Here we select our front door service which was created earlier.
Select Review + create
Here we have successfully associated a Web Application Firewall to Azure Front Door service.
Testing the deployment
Step 1: Go to overview of created Front Door Service e.g “MyFrondoor”
Step 2: Click on hostname e.g. “https://myfrontdoor.azurefd.net/ ”
Conclusion:
Global connectivity of Azure application services reduces the latency for end users as well as allowing developers to build out geo-distributed services.
Web application filtering protects against DDoS attacks or malicious users at the edge without impacting any backend services. Because of the performance, operability and security benefits to HTTP workloads with Front Door, we recommend customers use Front Door for their HTTP workloads.


.png)