Apache JMeter Plugin community, recently launched JMeter Plugins Manager. The actual purpose of this is to easily install / uninstall JMeter plugins using JMeter UI. It automatically adds plugins instead of doing it manually.
By using this you can manage plugins from jmeter-plugins.org, different third-party plugins and core JMeter plugins.
Below are the steps of how to install and use JMeter Plugins Manager
- Go to http://jmeter-plugins.org/get (by clicking on this URL you can directly download JAR) and download JAR file.
- Install into X:\apache-jmeter-3.0\lib\ext folder.
- Now start JMeter.
- Go to Options (Alt+O)
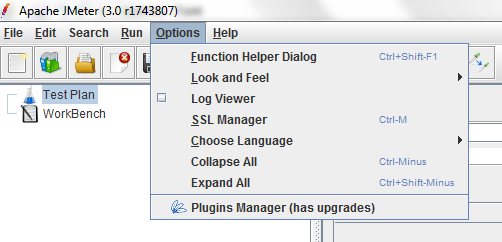
- Click on Plugins Manager.
- Plugins Manager window will be displayed.
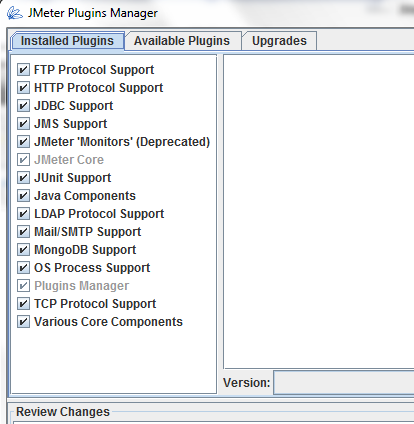
- Installed plugin
- Available Plugins
- Upgrades
- Installed Plugins: It will display all installed plugins in your core JMeter zip setup.
Clicking on any of the plugin.
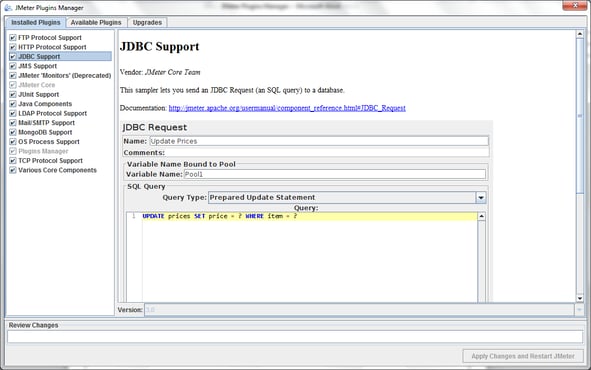 Plugin name, Vendor, Documentation link and its image.
Note: If you un-check on one of the plugin and click on ‘’Apply Changes and Restart JMteter’’ button it starts uninstalling process.
In Review Changes you can also check its progress. Once it done it restarts JMeter.
- Available Plugins: Shows list of all available plugins.
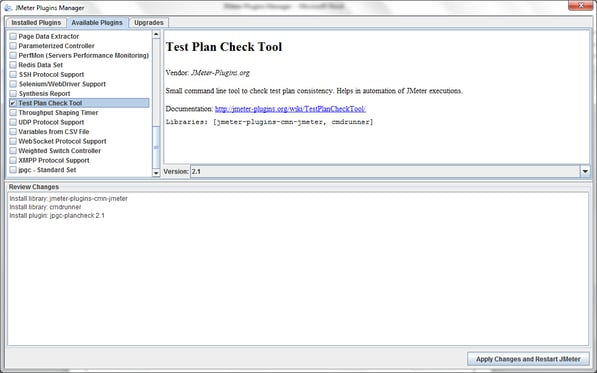
Select any plugin.
Here I am selecting Test Plan Check Tool, check the checkbox and click on ‘’Apply Changes and Restart JMteter’’ button.
- Upgrades: If any update is available.
Download the new JMeter Plugins Manger and explore the changes.
Would love to address questions from the readers

