

Prerequisite
- Linux VM
- Putty.exe
- Log in to Azure Portal
- Select your Ubuntu VM
- Go to Overview and click on 'DISK'
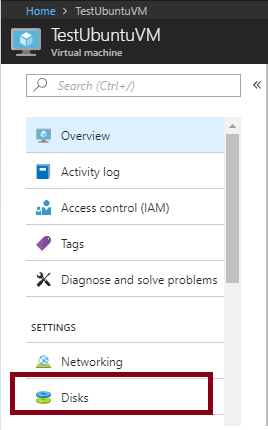
Step 2
- Click "Disk"
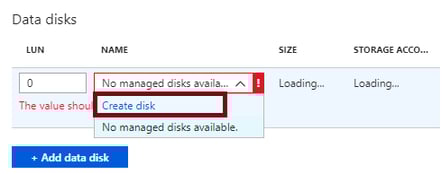
- Click "+ Add data disk"
- Click "Create disk" ,if no managed disk is available
- Fill the details
- Keep Source Type : None (empty disk)
- After creating a disk, Click "Save" to make all the changes reflect
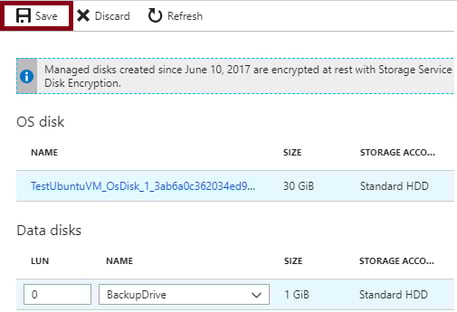
- After "Save" , Now you have attached a disk to the mentioned VM.
- Connect to your VM using "Putty.exe"
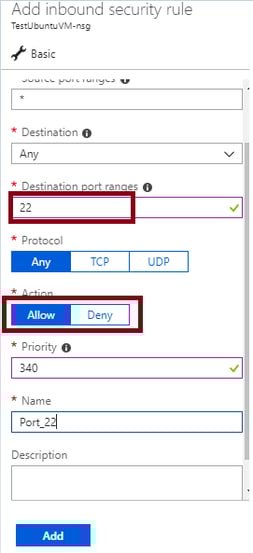
- If it does not connect , check "Port 22" is present in
Azure Portal ->Networking-> Inbound rules. - If it does not contain port 22 you can add it from,
"Networking -> Add Inbound Rule - > Add Rule for Port 22"
 Step 4
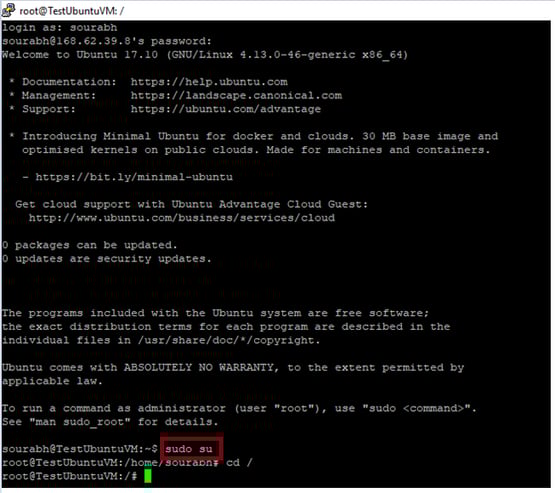
- Now we can connect to our VM & we are ready to attach
- Use "sudo su" command to operate as root user
 Step 5
- Use the following commands
"dmesg | grep SCSI"
This command is used to get the entire disk attached followed by filtration into SCSI disks.
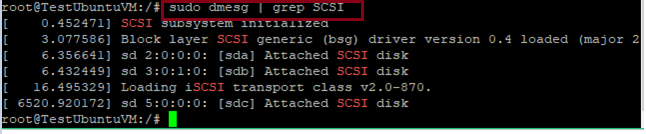
Lastly Added disk [sdc] is our "BackupDrive" that we created using Azure Portal.
"sudo fdisk /dev/sdc"
This command is used to Partition the disk. After this press 'n' for partition type which are 'p' for Primary and 'e' for Extended, here we select 'p'
i.e primary.
You can just press 'Enter' to select default values for next steps.
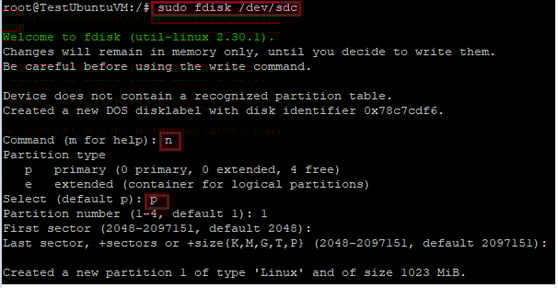
Here now we have created a new partition of size 1 GB which is our disk size we created in portal.
Step 6
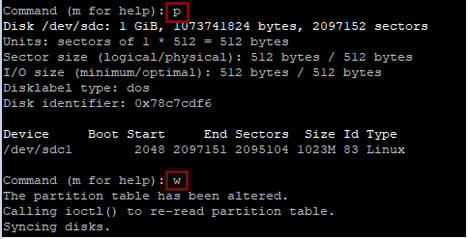
Now we can print the partition table and write it to disk.
- type 'p' to print table and then type 'w' to write it to disk
Futher we need to write filesystem to disk. For this we use the following command:
"sudo mkfs -t ext4 /dev/sdc1"
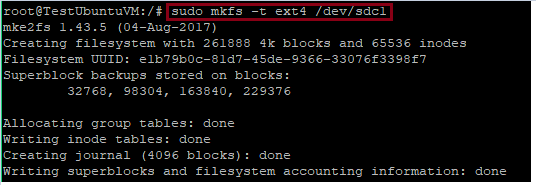
- Here we have created a filesystem with type 'ext4' on '/dev/sdc1' partition. Further we need to mount this filesystem to a directory that we will create in next step.
- Here we have created a new directory "TestDrive" in using the following command
"sudo mkdir TestDrive"

- Mount the filesystem "/dev/sdc1" to this "TestDrive" directory
"sudo mount /dev/sdc1 TestDrive"

- if we see "lost+found" in your list of items in "TestDrive" then your disk is successfully mounted!!
- To test this we can create a directory inside it

The additional disk is attached and mounted to a Virtual Machine. By referring to this blog, you can create multiple disks as per your requirements.


.png)