Prior to iOS 9, app switching was a tedious task. Earlier, if you were working on one app in the foreground and wanted to open another one, you had to double tap the home button and select the desired app from apps active in the background. Multitasking in iOS 9 makes it much easier to switch between apps.
There are three ways to switch between the apps or view two apps simultaneously:
- Slide over
- Split view
- Picture in picture
The required configuration to implement these features is Xcode 7 with iOS 9 SDK.
- Slide over:
In this mode, you can interact with a second desired app without leaving your currently running (full-screen) app.
While you are engaged with one app through viewing or browsing on the web, you can launch another app with a simple slide over from right thee sidebar (middle point). In this case, only the selected slide over (secondary) app is active. You can view the full-screen (primary) app but can’t interact, though it's running. If you tap on it, the selected slide over app will close and the full-screen app will become active again.
In the figure 1.1 below, two-thirds of the screen is occupied by the primary app (left hand side pane) and the remaining one-third with the secondary app (right hand side pane).
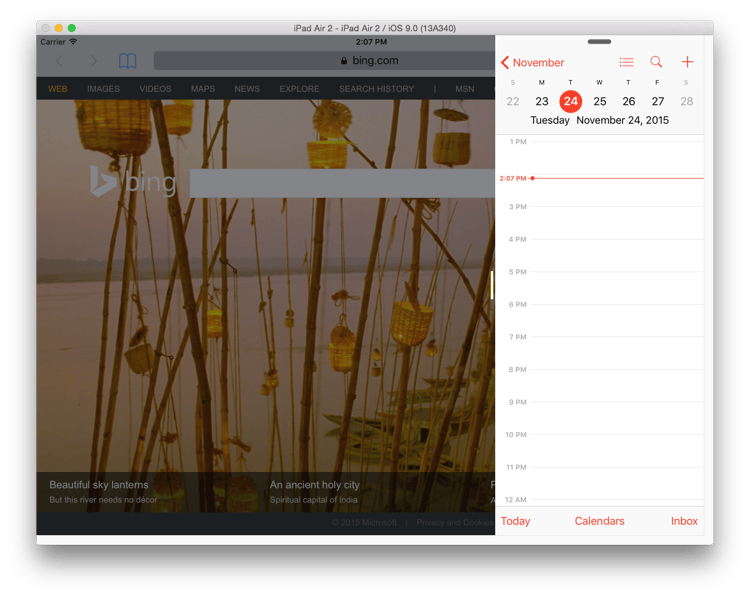 Figure 1.1 (Slide over feature)
You can switch to any app by dragging down the handle from top in the right sidebar pane, as shown in figure 1.2.
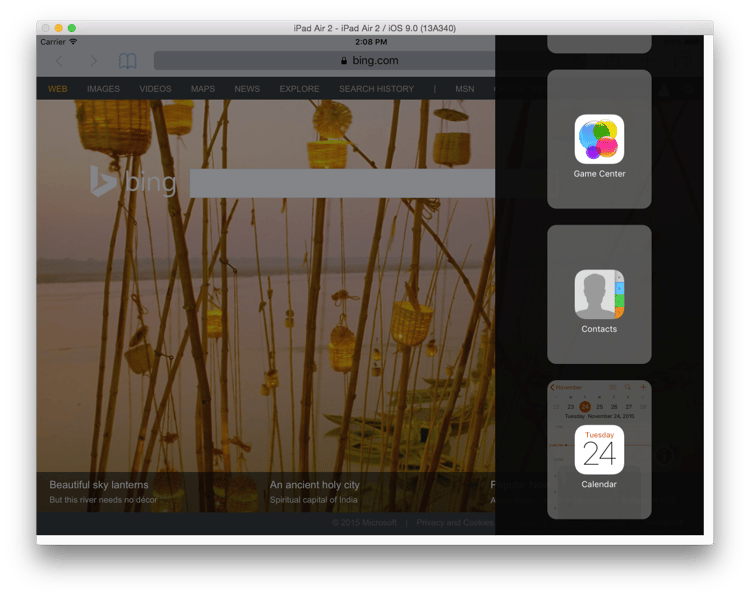 Figure 1.2 (Slide over feature: Options to select slide over app)
- Split view:
This mode is useful to view and interact with two apps simultaneously on the iPad, but this mode cannot be active without the slide over view. When the slide over is active, you can convert both apps in the active state through a single tap on a small handle present on the vertical divider between these two apps.
Some apps are not split-view compatible. In such a case, you can’t see the drag handle on divider line and the apps continue to remain in the slide-over mode. You can disable/enable split view with the tap on handle, provided on vertical divider.
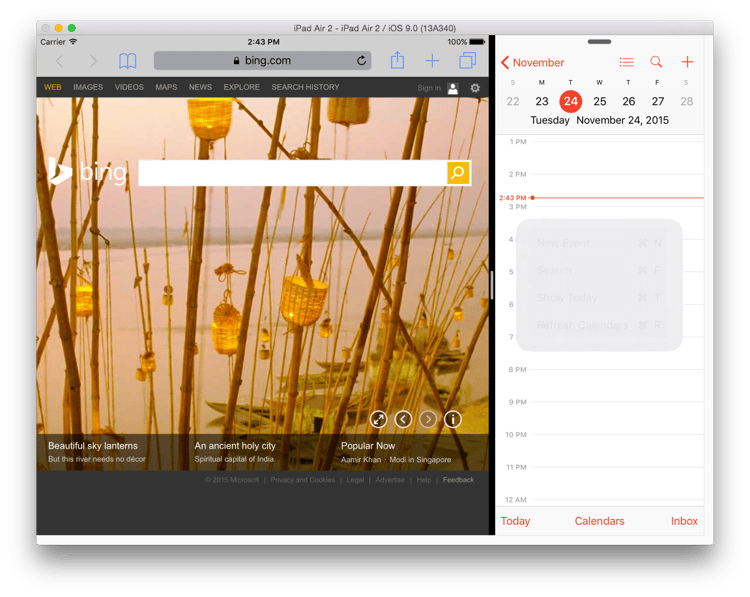 Figure 2.1 (Split view feature)
In this case, you can slide the divider (appearing at the centre) and change the primary app’s visible area (2/3, 1/2), as shown in figure 2.2. Also, you can dismiss the app by sliding over it.
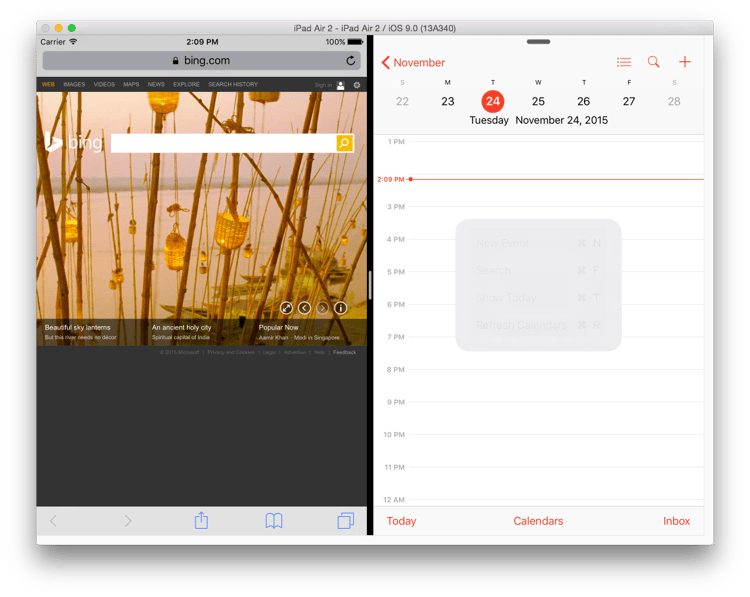 Figure 2.2 (Slide over feature- Dynamic visible area for apps)
If you want to change the app on the left panel, press the home button and launch the desired app. It will launch a new app while the right hand side pane stays as it is.
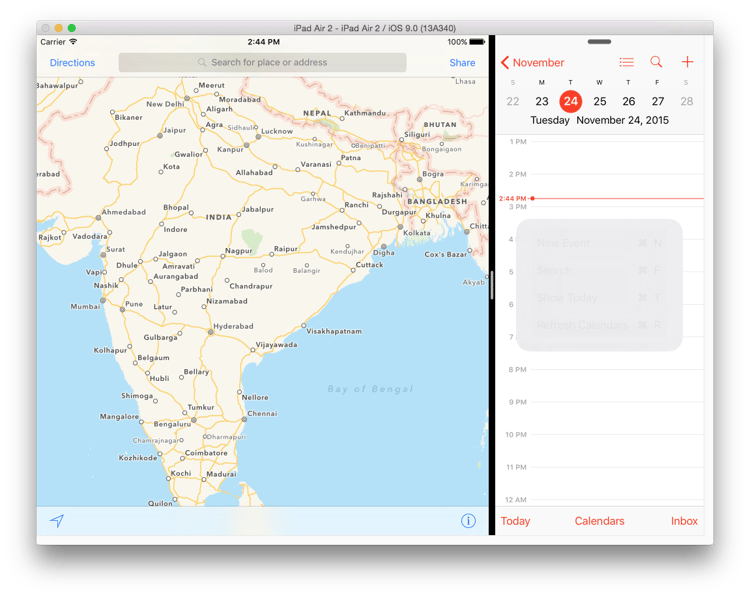 Figure 2.3 (Slide over feature- Primary app replaced with another app and secondary app remains unchanged)
For Developers:
From Xcode 7, each iOS app is preconfigured for Slide over and Split view feature by default. If you want to make a previously built app compatible to slide over and split view feature, you need to make the following changes to Xcode settings-
- Set Base SDK to ‘Latest iOS’ SDK
- Create ‘LaunchScreen.storyboard’ file
- Declare support to all orientations in ‘Info.plist’ file.
UIRequiresFullScreen- this flag must be ‘true’, if you don’t want to support these features.
User can disable multitasking through device settings: Settings > General > Multitasking
- Picture in picture:
This is the most interesting feature introduced in iOS 9 multitasking process. This stops the need to disconnect videos if a notification comes up. You can open a notification such as email while the currently functional video will scale down and become a small floating window over the opened app (as shown in figure 3.2).
This video window can be resized and relocated anywhere (any corner of the iPad screen). It also contains video playback control buttons. With the help of PiP button over the video (right bottom corner), you can re-open the source app which pushed the video back into full screen mode.
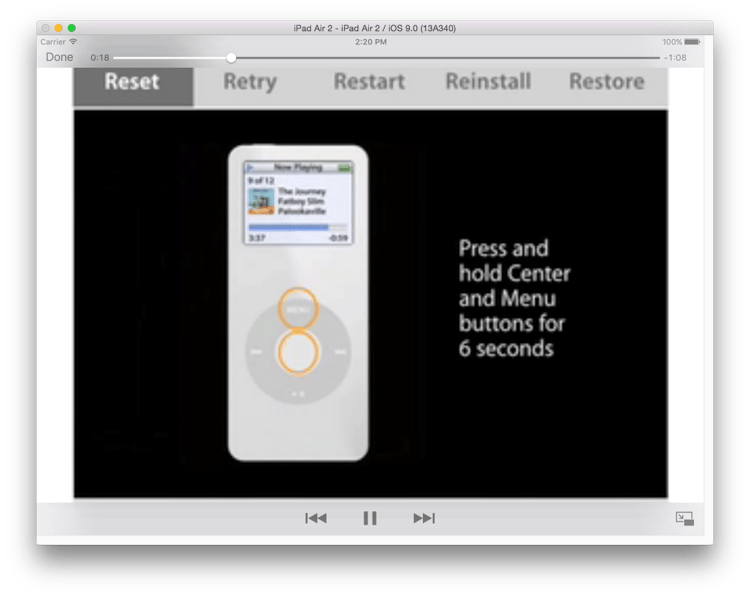 Figure 3.1 (Picture in Picture feature- Full screen video with PiP button)
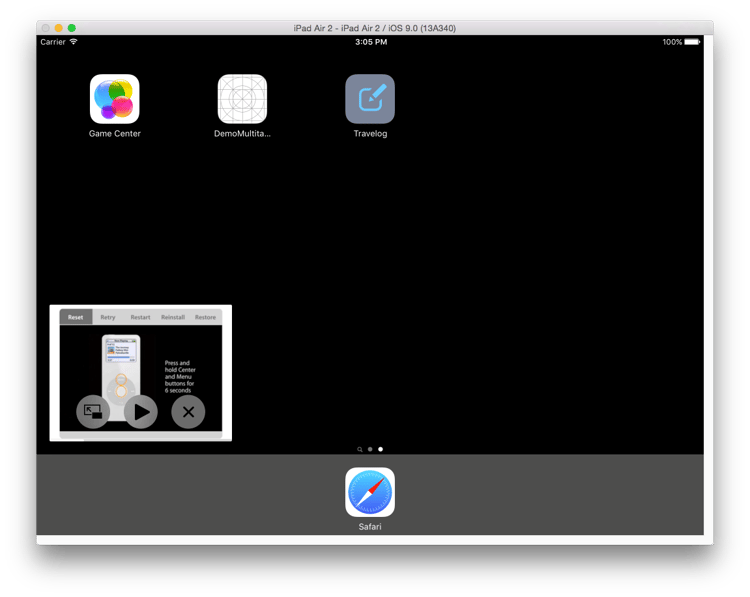 Figure 3.1 (Picture in Picture feature- Video in small floating window with PiP button)
For developers:
To enable PiP for video in your project, configure the following things-
- Set Base SDK to ‘Latest iOS’ SDK
- In Project’s target-> Capabilities -> Background Modes section -> Enable “Audio, Airplay and Picture in Picture” option
- Set AVAudioSessionCategoryPlayback category
In didFinishLaunchingWithOptions method of AppDelegate class, write the following lines to set AVAudioSessionCategoryPlayback category-
[[AVAudioSession sharedInstance] setCategory:AVAudioSessionCategoryPlayback error:nil];
[[AVAudioSession sharedInstance] setActive: YES error: nil];
4.There are three different ways to implement this feature-
i) Full screen video playback: with AVPlayerViewController class from AVKit framework-
- In .h file, declare property of AVPlayerViewController class @property (nonatomic, strong) AVPlayerViewController *playerVC;
- In .m file, write the following code:
NSBundle* myBundle = [NSBundle mainBundle];
NSURL* videoUrl = [myBundle URLForResource:@"sample_iPod" withExtension:@"m4v"];
AVPlayer *player = [AVPlayer playerWithURL:videoUrl];
self.playerVC = [[AVPlayerViewController alloc] init];
self.playerVC.player = player;
ii) To provide custom UI to video playback, use AVPlayerLayer class from AVFoundationframework
- In .h file, declare property of AVPlayerLayer class
@property (nonatomic, strong) AVPlayerLayer *layer;
@property (nonatomic, strong) AVPictureInPictureController *vc;
- In .m file, write the following code:
NSBundle* myBundle = [NSBundle mainBundle];
NSURL* videoUrl = [myBundle URLForResource:@"sample_iPod" withExtension:@"m4v"];
AVPlayer *player = [AVPlayer playerWithURL:videoUrl];
self.layer = [AVPlayerLayer playerLayerWithPlayer:player];
[self.layer setFrame:CGRectMake(0, 0, 250, 250)];
[self.layer setVideoGravity:AVLayerVideoGravityResize];
[self.view.layer addSublayer:self.layer];
[player play];
[self setupSuport];
------------------------------------
-(void)setupSuport
{
if([AVPictureInPictureController isPictureInPictureSupported])
{
self.vc = [[AVPictureInPictureController alloc] initWithPlayerLayer:self.layer];
self.vc.delegate = self;
}else
{
// not supported PIP start button disable here
}
}
————————————————
- You can start and stop video overlay PiP mode with button action-
if (self.vc.pictureInPictureActive) {
[self.vc stopPictureInPicture];
}
else {
[self.vc startPictureInPicture];
}
iii) With WKWebView class from WebKit framework for iOS 9:
NSBundle* myBundle = [NSBundle mainBundle];
NSURL* videoUrl = [myBundle URLForResource:@"sample_iPod" withExtension:@"m4v"];
WKWebView *webview = [[WKWebView alloc] initWithFrame:self.view.frame];
[webview loadFileURL:videoUrl allowingReadAccessToURL:videoUrl];
[self.view addSubview:webview];
- If you support PiP but want to opt out of PiP for a particular video:
- Using WebKit, set the associated web view instance’s allowsPictureInPictureMediaPlayback property to NO.
- Invoking PiP without User’s request, is not acceptable to Apple.
Remember that these new features are provided to only limited iPad devices. For instance, you can see Picture in Picture and Slide Over for
- iPad Pro,
- iPad Air or later,
- iPad mini 2 or later.
And Split View is available only on the latest iPad devices:
- iPad Pro,
- iPad Air 2,
- iPad mini 4.
References:
http://hubs.ly/H01Z-Sn0


