

The digital devices and gadgets are becoming more and more inseparable part of our lives these days. There could be several reasons to explain this high adoption rate for the devices like Amazon Echo and Dot.
I am listing down a few quick ones that probably you also could relate to:
- It lets us perform multi-tasking more easily than before
- It lets us do things more quickly as compared to phone or laptop
- It gets us fast answers to the questions that we have
- It makes our daily routine easier
So, if you’re looking for a way to create Alexa’s voice-enabled skill then you’re at the right place!
Let’s create an Amazon Alexa skill from scratch using Node Server and using Lambda function service of AWS.
First sign up for an Amazon Developer account, if you don’t have one.
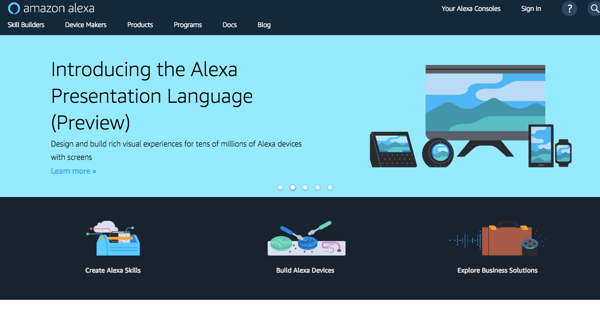
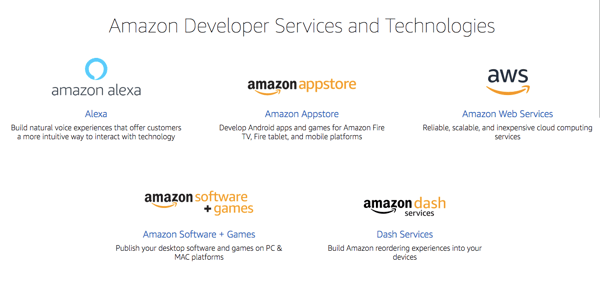 Go to Alexa developer page.
Then go to the Alexa console.
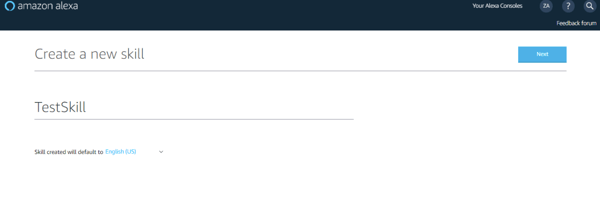
Click on create skill.
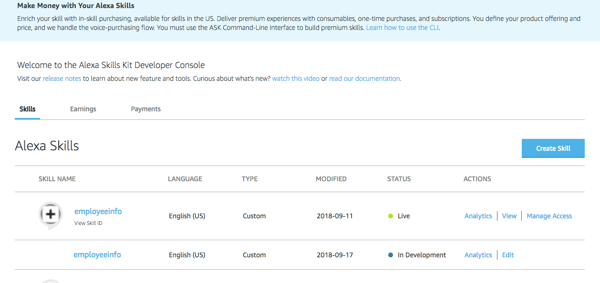 Give a name to the skill, I have named mine as employeeinfo and click on Next.
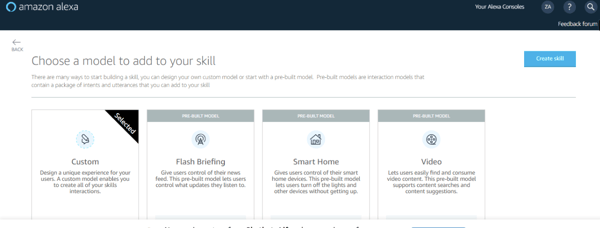
 Choose a model to add to your skill. I’ve selected custom for my experiments.
Click on Create skill.
This way you reach to the Alexa skill dashboard.
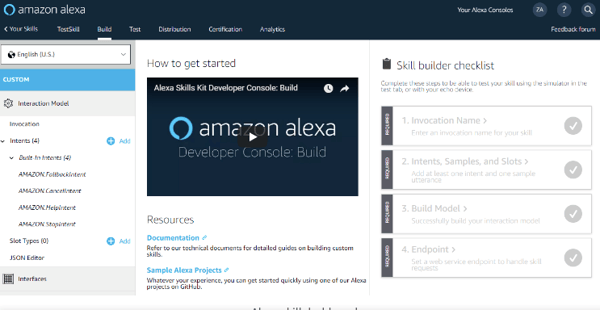
Provide an invocation name. I’ve named it “run employeeinfo” and click on Save Model.

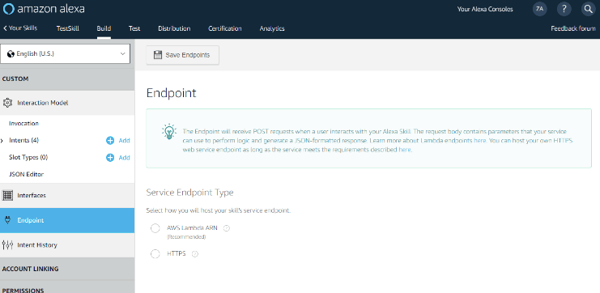
Click on the Endpoint.

Now, we need to provide the endpoint to Alexa console. But before that, we need to set up an endpoint.
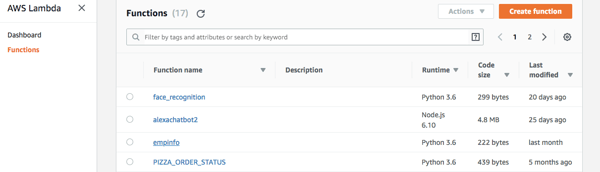
For setting up the endpoint we need to use AWS Lambda function service to get there.
Click on ‘Create function’ to create your own Lambda function.
After clicking, you will see your endpoint is generated at the rightmost corner of the dashboard as ARN.
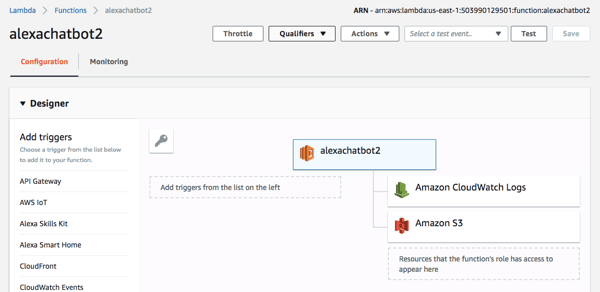
Copy and paste the ARN in the Lambda Endpoint Section of Alexa Console.
Click on Save Endpoint.
Creating a Node server
Create a server which can accept POST requests on default location i.e. “/”.
There are so many techniques for creating a server, I personally prefer a Node.
I am assuming that you’ve Node, NPM and Visual Studio code installed already.
For the specific requirements of this tutorial, we will create a Hello World node app following the steps are given below:- Run npm init on a terminal. You will be asked for the package
- Follow the terminal wizard in the package.json file
- Run npm i express http - save and this will add the following entry in the package.json file:
”dependencies”: {
“express”: “4.16.3”,
“sql”: “0.0.2”
}
- Set value to index.js of the main key in the package.json file
- Add a file index.js on same level
- Add the following code to the index.js file:
const app = express();
app.post('/', (req, res) =>
res.send({
version: '1.0',
response: {
shouldEndSession: false,
outputSpeech: {
type: 'SSML',
text: 'Hello World!',
ssml: '<speak>Hello World!</speak>'
}
}
}));
app.listen(8080, () => console.log('Example app listening on port 8080!'));
- Set value of scripts to {“start”: “node index.js”}
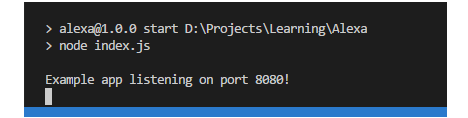
- Run npm start on the terminal
- If everything is fine, you must see the following prompt:
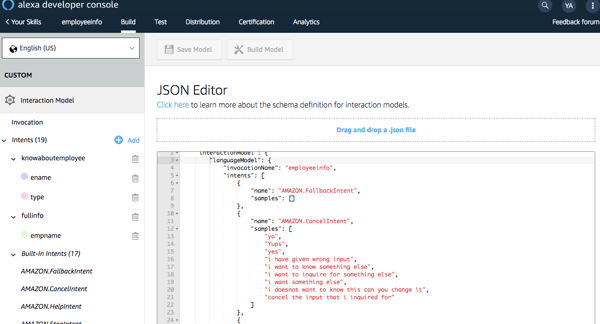
 Click on JSON editor and provide the following model:
{
"interactionModel": {
"languageModel": {
"invocationName": "employeeinfo",
"intents": [
{
"name": "AMAZON.FallbackIntent",
"samples": []
},
{
"name": "AMAZON.CancelIntent",
"samples": [
"ya",
"Yups",
"yes",
"i have given wrong input",
"i want to know something else",
"i want to inquire for something else",
"i want something else",
]
},
"name": "AMAZON.PauseIntent",
"samples": []
},
],
"samples": [
"can i know info about {empname}",
"i want to know info about {empname}",
"can i get all info about {empname}",
"can i know about {empname}",
"i want to know about {empname}",
"i want to know full information about {empname}"
]
}
],
Click on Save Model and click on Build Model.
Once the skill model is built - we need to test it. Click on the Test tab and toggle ON the “Test is enabled for this skill”.
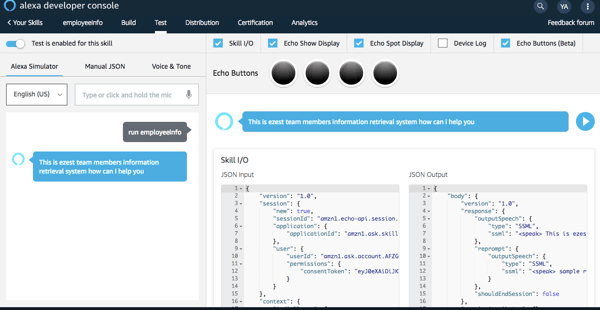
That’s it, you’ve created an Alexa skill connected to your Lambda function on AWS.
This post is written based on documentation of AWS developer portal.
If you have any questions, leave your comments below.
.png)