What is Openfire?
Openfire is a real time server, licensed under the Open Source Apache License. It uses the widely adopted open protocol for instant messaging, which is XMPP (also known as Jabber). Openfire is incredibly easy to set up and is also robust in terms of security and performance.
The latest version for the Openfire server can be downloaded from the link: http://www.igniterealtime.org/downloads/
Where can it be used?
We stumbled upon Openfire, while trying to develop an Instant Messaging application. This application required to have:
- Apache Tomcat 7
- Openfire 3.10.2
- Converse 0.9.4
- Strophe 1.0.2
Installation and configuration:
Openfire is an IM server that uses XMPP protocol (Ejabberd is another server, but after playing around with both the applications we found Openfire easier to setup). As a prerequisite, you must have a JDK in your machine
A) Linux:
Download the Openfire and untar it with the following command:
tar -xvzf openfire_3_8_1.tar.gz
Then, move the files to /opt:
mv openfire /opt/
Finally, add a link for the daemon script to /etc/init.d; and start the daemon with a call to service:
in -s /opt/openfire/bin/openfire /etc/init.d/
Now start the service with the following command:
service openfire start
If no errors were displayed, open the following URL in your browser: http://localhost:909
B) Windows:
Download the Windows installer, run the .exe file. Select install to a different directory and click ‘Next’. Click on Finish and Launch Admin Console to redirect to the URL: http://localhost:9090
Configuration of Openfire:
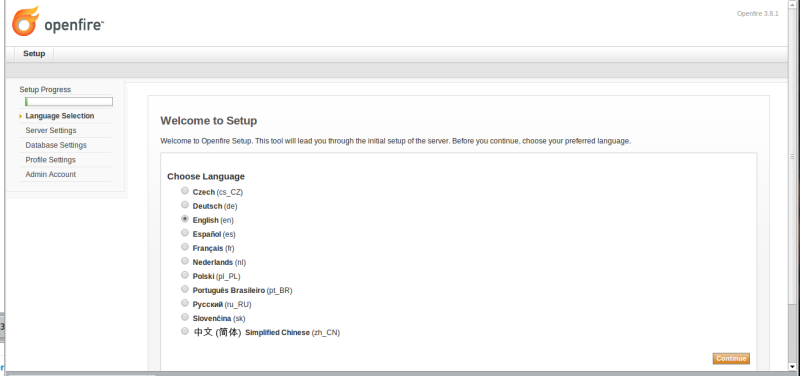
If everything went OK, you should see the following wizard:
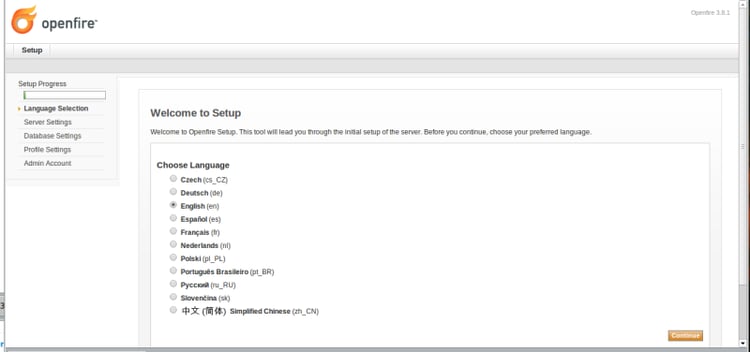
Click ‘Continue’ and configure your domain and ports for administration (you can keep the defaults and use localhost as the domain name).
In order configure Openfire and Converse with CORS support, we need to change the settings for BOSH in the Openfire server. In order to enable BOSH to be able to use converse.js, we need Openfire and another server to handle port 80 requests.
BOSH enables Converse to use http to translate the XMPP (not XAMPP) data between the Openfire server and the web browser where Converse.js is being called.
To configure Converse, include the url into the index.html of converse.
bosh_service_url: http://172.51.31.88:7070/http-bind/
Also, create and establish a Strophe connection:
var connection = new Strophe.Connection(‘http://172.51.31.88:7070/http-bind/’)
The username is the one that was created in the previous step and the domain is “localhost”. If everything is OK, you should be able to connect.
Configuring BOSH
BOSH stands for Bidirectional-streams Over Synchronous HTTP. Basically, it is used to transport XMPP stanzas over HTTP. So, if you are planning to use your server with an XMPP Web client, you must configure BOSH (or websockets). In order to enable BOSH in Openfire, log in to the admin console and click on Server-> Server Settings-> HTTP Binding
Http-Bind should be configured with the following parameters:
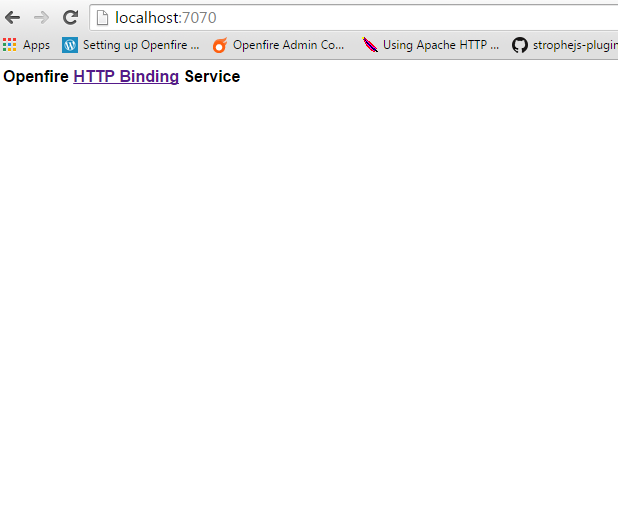
Save the changes and run a test on Converse.
Connecting with Strophe.js
Strophe is an XMPP library for JavaScript which allows connecting from a Web browser to an XMPP server.
Download the latest version of this library and unzip it in your workspace. This package contains a couple of examples that can be used as reference e.g. Examples/basic.html.
Before trying to connect, update the file examples/basic.js and change the BOSH URL as follows:
var BOSH_SERVICE = 'http://localhost:7070';
Attaching External Database
In case of Openfire already being installed,
Go to: \Openfire\conf\openfire.xml
Edit the xml file in the following manner:
        org.jivesoftware.database.DefaultConnectionProvider

   false
Hit the URL: http://localhost:9090
This URL redirects to the setup procedure described above: Only change to make is, Select Standard Database Connection and continue.
Provide the database details and proceed with further installation of Openfire as described above.
Please Note: If already configured BOSH and Strophe, reconfiguration is not needed after connection to database.
Configure Openfire to use SSL:
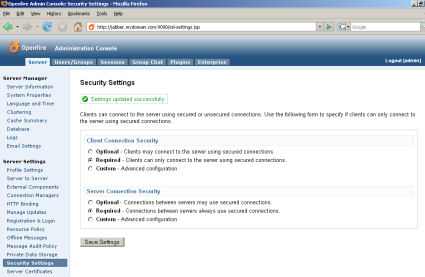
Click the Security Settings link on the left. Under Client Connection Security, choose the required option to force jabber clients to use SSL (NOTE: If the client doesn’t support SSL and this option is enabled, the client will not be able to connect to the server). Click the Save Settings button.
Openfire SSL Certificates
Openfire creates self-signed SSL Certificates by default. If you ever want to access this administration console (port: 9091, by default) from a Secure Connection, then you’ll need to restart the Openfire HTTP Server.
Click the Server Certificates link on the left menu.
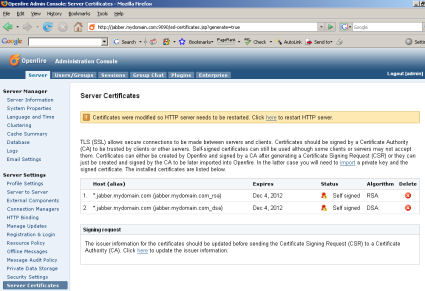
Click the link in the highlight section.
Openfire will restart the HTTP Web Server and redirect you to the login screen. Log back in and the SSL Certificate should now be in use and you can access the console from SSL.
References:
converse+openfire+strophe download:
- https://github.com/jcbrand/converse.js/releases
- http://www.igniterealtime.org/projects/openfire/
- http://strophe.im/strophejs/
Settings and configuration:
- https://conversejs.org/docs/html/development.html#initialize
- https://conversejs.org/docs/html/configuration.html#allow-chat-pending-contacts
- http://metajack.im/2009/12/14/fastest-xmpp-sessions-with-http-prebinding/
- https://expertnotfound.wordpress.com/2013/04/08/setting-up-openfire-bosh-strophe/
- https://www.igniterealtime.org/builds/openfire/docs/latest/documentation/ssl-guide.html


