Rundeck is open source software which helps you to automate operations on different environments. Rundeck have some features to reduce your time consuming work and increases your automation skills. Rundeck allows you to run tasks on multiple number of nodes from a web-based or command-line interface. Rundeck is developed on GitHub as a project called Rundeck by SimplifyOps and the Rundeck community.
Rundeck Features:
- Web API
- Command-line interface
- Job execution and schedule jobs
- Supports graphical web console for command and job execution
- Create control policy for users
- History and auditing logs
- Open integration to external host inventory tools
Launch EC2 instance with minimum configuration like type t2.medium, public ip and operating system like Ubuntu, Redhat, it also support windows machine as well. Rundeck is having two editions one is community and other is enterprise. Enterprise edition is the paid one.
Here we will be doing installation of Rundeck server using Amazon Linux:
- Login to launched EC2 Rundeck Server Instance (As root user)
- Check Java Version. If Java is not installed, install using below command
- To install Rundeck, hit below command
yum install rundeck
- After package installing package, the service must be started
- Once your installation is completed, visit http:localhost:4440 or in AWS Ec2 instance having public ip, you can visit Rundeck dashboard using below url
- Before login to Rundeck dashboard you have to update public dns name at paramater name “grails.serverURL” in the configuration file /etc/rundeck/rundeck-config.properties
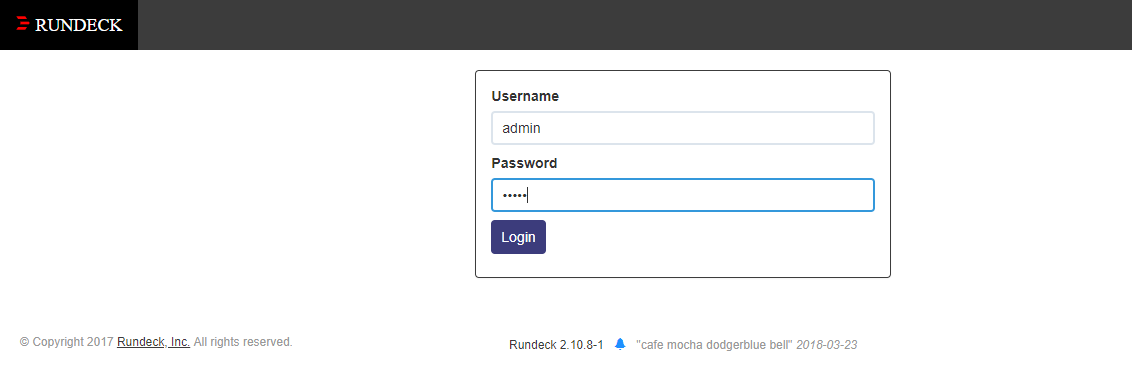
- Default user for Rundeck dashboard is “admin”. Use “admin” as username and password for login
Node Configuration:
We are using ssh protocol (Port 22) for node and Rundeck server communication.
1. Once we login into the Rundeck dashboard and create a new project to give access for jobs and nodes, it will generate node configuration file at below location
/var/rundeck/projects/<Your-Project-name>/etc/resources.xml
e.g. Project name- Test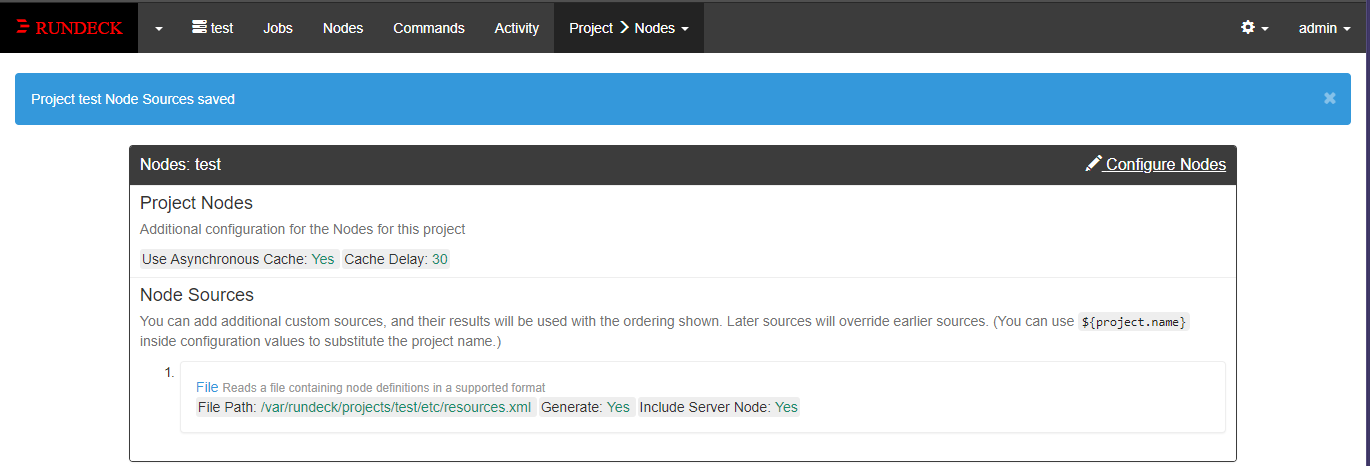
2. Login to node server,
- Create user for ssh connection between Rundeck server and node
- Switch to created user,
- Run below command to generate ssh private and public key
- This will generate id_rsa(Private Key) and id_rsa.pub(Public Key) files in /home/test/.ssh directory
- Use cat command to view the private key
- Open Rundeck dashboard with admin user and move to Settings, and select “key storage”> Click on add or upload a key> Select key type> Enter private key of the test user of node server > Give name to that key (E.g. node1.pem) > Click on save
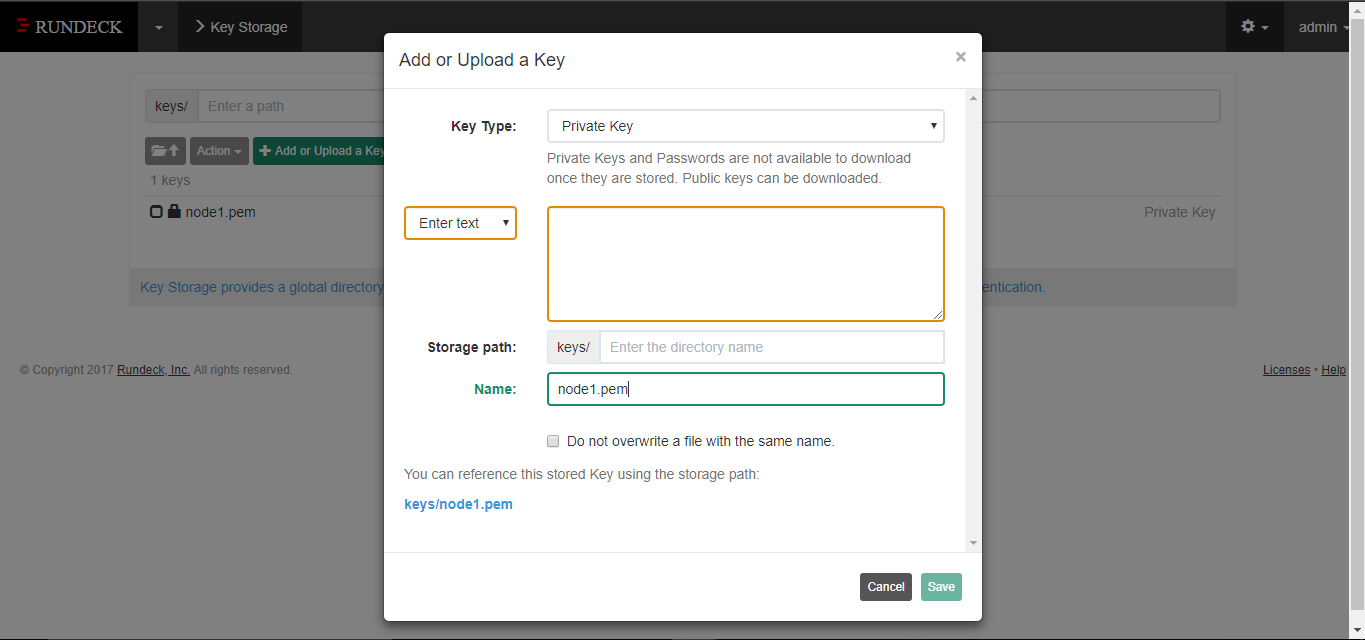
- Default key storage path of rundeck server.
- Create the authorized_keys file in the .ssh directory, and then restrict file permissions to 600 to enforce that only the new user(test) has read or write access to the file.
touch .ssh/authorized_keys
chmod 600 .ssh/authorized_keys
- Copy public key id_rsa.pub file in authorized_keys
cp id_rsa.pub authorized_keys
3. Add node details into node configuration file on Rundeck server
- Login to Rundeck server's CLI and switch to path
- Edit file “resource.xml” (vi ,vim,nano)
- In this file add node details in between <project> and </project>
- The details of “<node name="Node1" description="Rundeck server node1" tags="" hostname="" osArch="" osFamily="" osName="" username="" ssh-keypath=""/>”
b. Give username as your node ssh user name which you have created.
(e.g test)
c. You can give ssh-keypath as path where you storage your node private key
E.g. /var/lib/rundeck/var/storage/content/keys/node1.pem
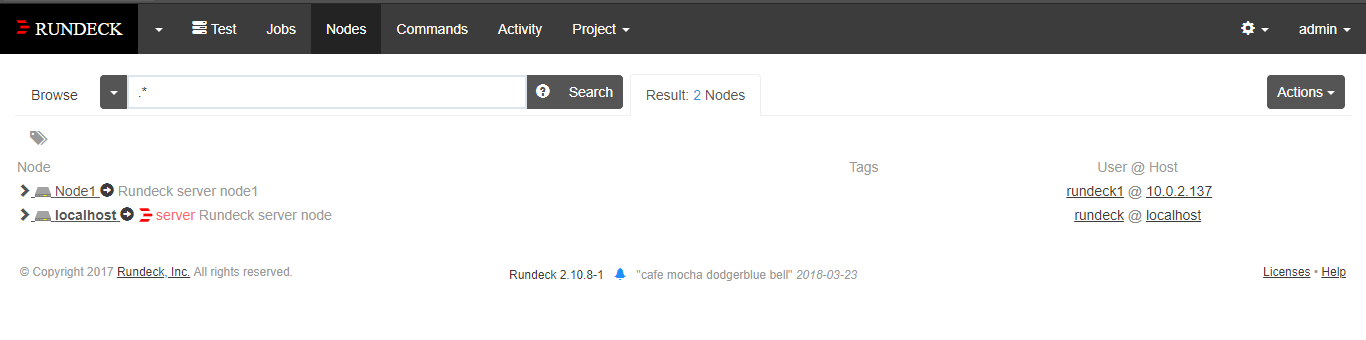
4. Login to Rundeck dashboard and check the newly added node
- Select project to which the node has been added
- Switch to “Nodes” Section
- Choose “all nodes” to check list the node which was updated recently
5. To give your user sudo root privileges run below command on node server
- Switch to node server root user
- Run “visudo” command to edit /etc/sudoers file
- test ALL=(ALL) NOPASSWD: ALL
To learn more about other Rundeck functionality, Please refer below URL:
Reference: http://rundeck.org/docs/index.html